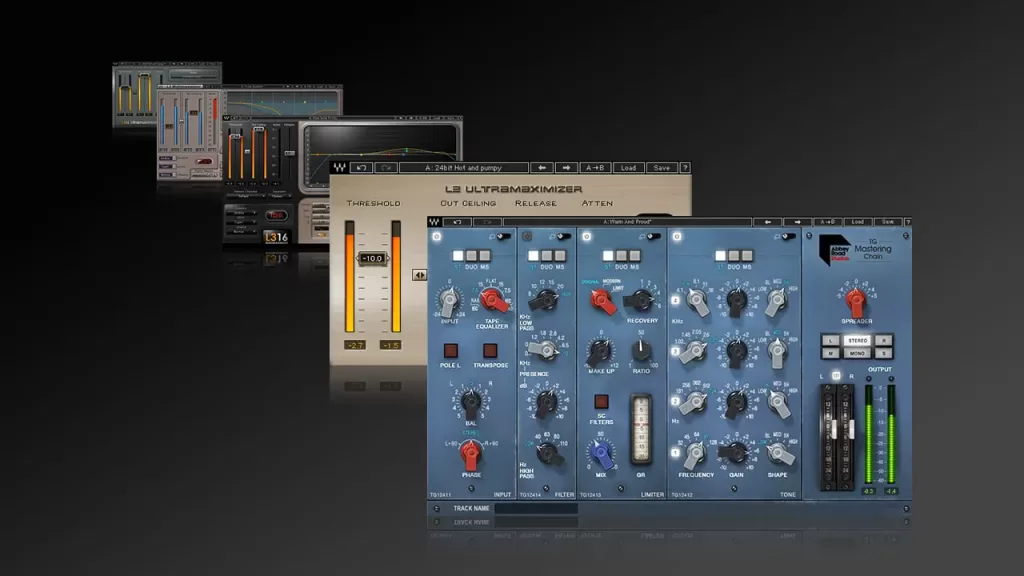
Mastering is the art of turning a mix into a polished, release-ready product. With 15 years of professional mastering experience and over 20 years of using and following Waves plugins, I’ve honed my understanding of which Waves tools are the best for mastering and mixing. Waves Audio offers an extensive range of plugins, often at great prices, but their vast catalog can be overwhelming with many overlapping options.
In this article, I’ll guide you through the best Waves mastering plugins for 2025—plugins that have proven their worth over time. I’ve also included practical tips on how to use them effectively in your mastering chain. Whether you’re a seasoned pro or just starting out, this guide will help you make the most of your Waves plugins.
Each plugin I recommend is one I’ve bought with my own hard earn money. Please note that this post contains affiliate links, meaning if you click a product link and make a purchase, I might earn a small commission at no extra cost to you. It helps keep this blog going and my coffee cup full!
Now, let’s dive into my review of the best Waves mastering plugins in 2025.
What are the best Waves plugins for Mastering in 2025?
Before we move on to the detailed reviews, here is the full list of my recommendations, with quick links to jump into the detailed reviews and tips.
These are the best Waves plugins for mastering:
- Waves F6 Floating-Band Dynamic EQ
- Waves L2 Ultramaximizer
- Waves C6 Multiband Compressor
- Waves Linear Phase Multiband Compressor
- Waves Vitamin Sonic Enhancer
- Waves Center
- Waves S1
- Waves API-2500
- Waves Linear Phase EQ
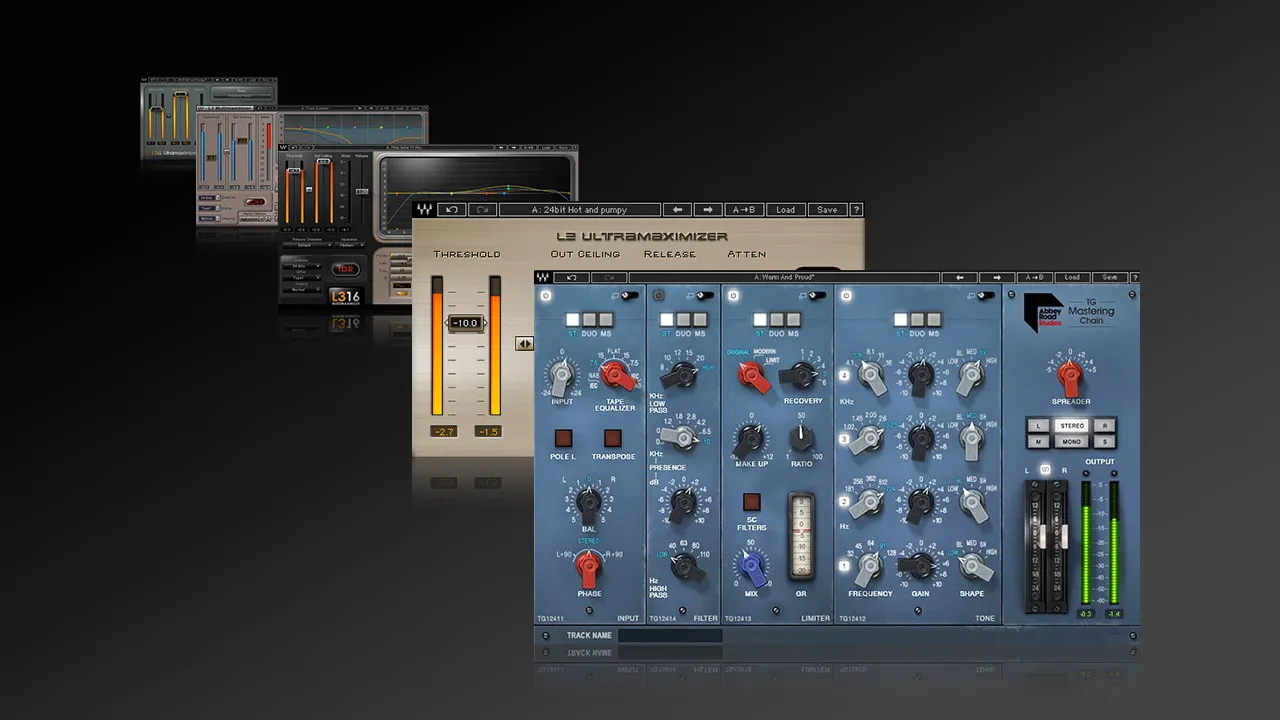
- Waves Abbey Road TG Mastering Chain
- Waves SSL G-Master Buss Compressor
Waves F6 Floating-Band Dynamic EQ
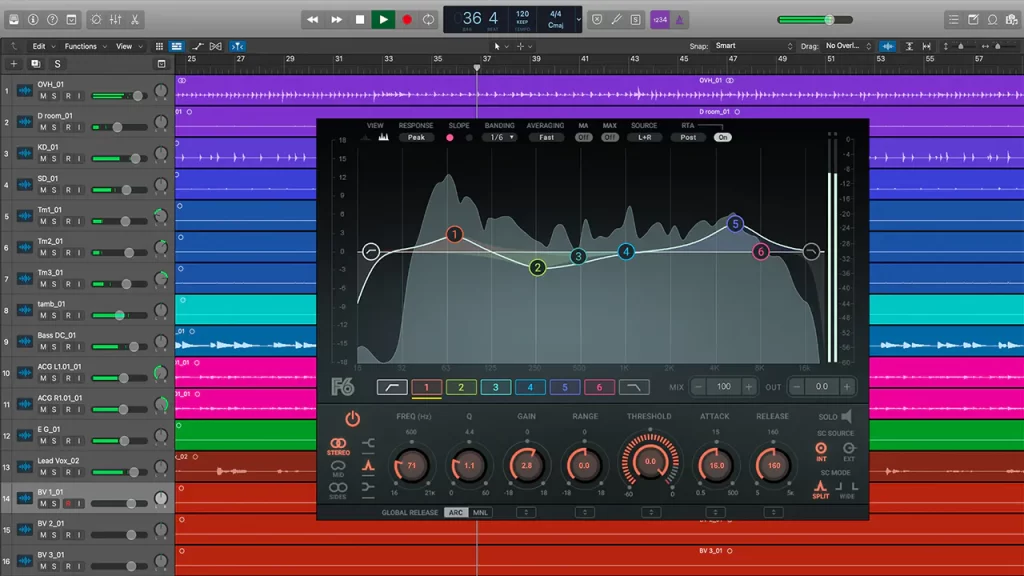
Waves F6 Floating-Band Dynamic EQ is overall the best Waves EQ plugin for mastering. It’s a clean and super versatile minimum phase tool for precise EQ adjustments and dynamic processing.
Waves F6 Floating-Band Dynamic EQ Tips for Mastering:
- Use the “Solo” button to accurately hone in on the frequencies you want to target.
- With a short attack time, an EQ band can boost/reduce transients very effectively. This can be used to control punch in mastering context. With a longer attack time, the plugin sounds more transparent.
Link: Waves F6 Floating-Band Dynamic EQ
Waves L2 Ultramaximizer
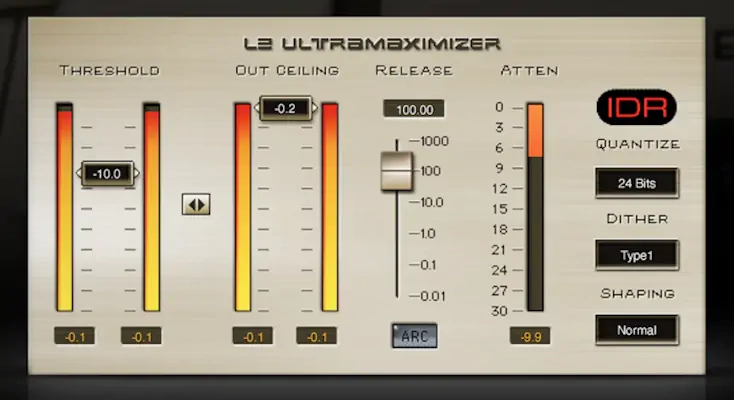
The Waves L2 Ultramaximizer has been a staple in my studio since the 2000s.
At its core, the Waves L2 Ultramaximizer combines peak limiting, level maximization, and dithering, all in one user-friendly package.
Back in the 2000s, the L2 was the plugin of choice for mastering engineers, helping to define the sound of that era. While it’s certainly not the most transparent limiter by today’s standards, its unique sonic character is precisely why many engineers still reach for it.
The Waves L2 Ultramaximizer has stood the test of time. While newer, more transparent options are available, the L2’s distinctive sound continues to be cherished by many engineers.
Waves L2 Ultramaximizer Tips for Mastering:
- The Adaptive Release Control (ARC) offers a more transparent sound, but for creative effects like pumping or intentional distortion, try switching to manual release control.
- A favorite trick of mine is to run the L2 in dual mono mode, which can noticeably widen the stereo image and add depth to your mix.
Link: Waves L2 Ultramaximizer
Waves C6 Multiband Compressor
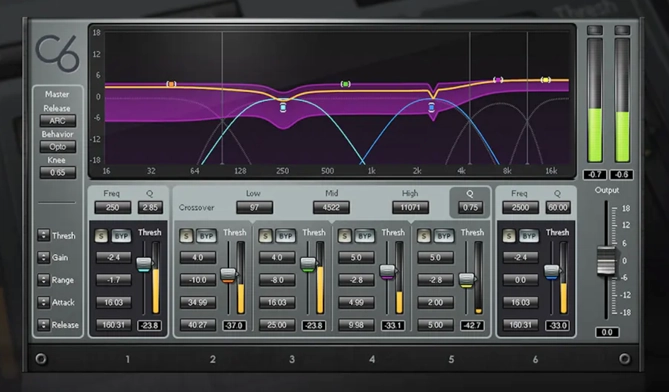
The Waves C6 Multiband Compressor is a reliable and versatile friend for mastering. It offers dynamic compression, expansion and EQ across six frequency bands, allowing you to address specific frequencies independently.
Key features include four fixed bands and two floating bands, sidechain capabilities for external triggering, and a user-friendly paragraphic interface.
It’s a dependable plugin that has earned its place in many professionals’ toolkits, and comes in much more affordable than many of its competitors.
If you’re wondering whether you should be using the Waves C6 or the Waves Linear Phase Multiband Compressor, keep reading! I’ll dive into the differences and specifics of when to use each in the Linear Phase Multiband section.
Waves C6 Tips for Mastering:
- Control Low-End Dynamics: Apply multiband compression to the low-end to manage bass frequencies that can be overpowering on certain playback systems.
- De-Essing: The C6 can double as a de-esser by targeting the sibilant frequencies in the upper mids, providing transparent sibilance control.
- Optimize Attack and Release Times: Adjust attack and release times to match the tempo and characteristics of your audio material, balancing transient control and punch, or aggression and smoothness in compression.
- Use Opto Mode for Transparent Compression: Switch to Opto mode for natural and musical compression on sensitive material like vocals or the master buss, emulating classic optical compressors for smooth, transparent results.
- Monitor Gain Reduction: Watch the gain reduction meters and the Dynamic Line display to ensure you’re not over-compressing, allowing for more informed adjustments.
Link: Waves C6 Multiband Compressor
Waves Linear Phase Multiband Compressor
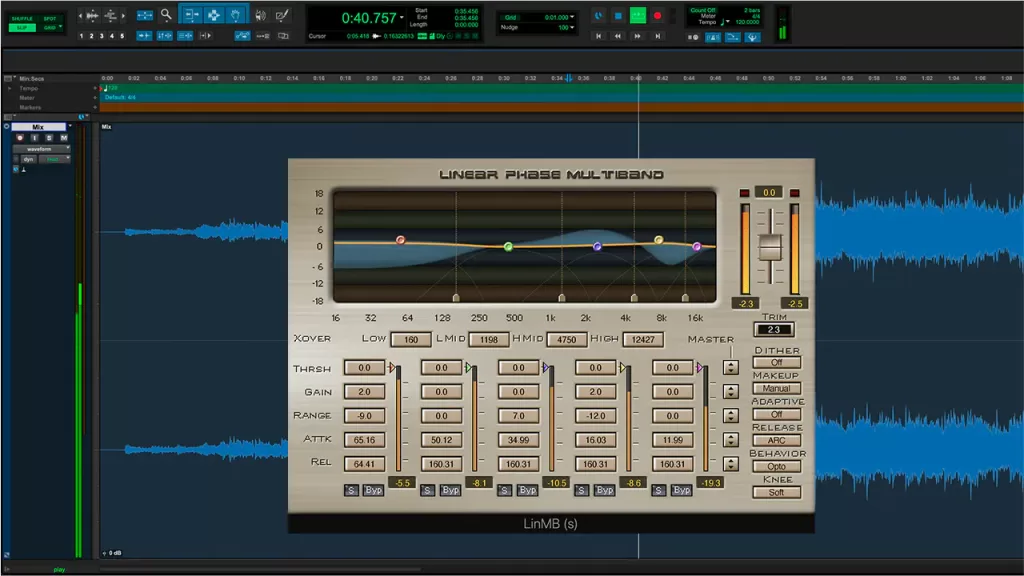
This is one of my secret weapons! The good old Waves Linear Phase Multiband Compressor still more than holds its own in the competition. Don’t let the archaic looks deceive you. I think the GUI is actually very clear and functional once you start working with it.
Linear phase technology is great for preserving punch in your music. A transient contains lots of different frequencies happening at the same exact time. A typical non-linear filter shifts each of these frequencies differently in time, smearing the transients. This plugin doesn’t do that.
The Linear Phase Multiband Compressor is very well tuned for mastering purposes. It has good precise controls. It sounds great and does what you want with minimal fuss. It is also extremely cost-effective (wait for the discount) for the quality of processing that you get.
Waves Linear Phase Multiband Compressor Tips for Mastering:
- ARC for easy natural results: The Adaptive Release control tends to result effortlessly in natural and transparent sounding results. But you always have the manual release control if you need something different.
- Try it for transient recovery: I also like to use this plugin as a transient recovery tool (sadly a lot of premasters I get are squashed lifeless). This can be achieved by setting a positive range value in the desired bands. If you need lots of snap, go for a short attack time.
- Soft vs Hard knee: Changing the knee setting completely transforms how the compressor responds. Soft knee sounds nice and smooth where has the hard knee gets aggressive – perfect for sharp transient shaping for instance.
- Read the manual: The LinMB utilizes several specialized techniques to achieve great fidelity. The manual is superb and explains everything in a very educational way. Make sure to read it (and yes, it’s long, which I really appreciate)!
Waves C6 Multiband Compressor vs Waves Linear Phase Multiband Compressor
The Waves C6 Multiband Compressor and Waves Linear Phase Multiband Compressor are both valuable tools in mastering, each suited for different tasks due to their unique processing characteristics.
Key Differences
The Waves C6 Multiband Compressor uses minimum phase processing, which can introduce some phase distortion. This compressor excels at addressing specific, precise issues in a mix, such as taming resonances, controlling dynamic elements like vocals, or tightening the low end. The phase distortion is often negligible in these scenarios, making the C6 ideal for surgical adjustments without affecting the mix’s overall tonal balance.
In contrast, the Waves Linear Phase Multiband Compressor avoids phase distortion altogether but can introduce time distortion, particularly in the form of pre-ringing. This makes it perfect for broad, smooth, and gentle tonal shaping, where preserving the natural stereo image is crucial. While pre-ringing can be an issue with more aggressive settings (especially in the low end), it’s not a problem if you understand what you’re doing.
When to Use Each
- Waves C6: Best for tackling specific issues within the mix, like resonances or dynamic inconsistencies, where precise control is necessary, or you need to go in harder.
- Waves Linear Phase Multiband: Ideal for smooth, transparent shaping of the overall sound, particularly when maintaining phase coherence and stereo imaging is important.
Link: Waves Linear Phase Multiband Compressor
Vitamin Sonic Enhancer
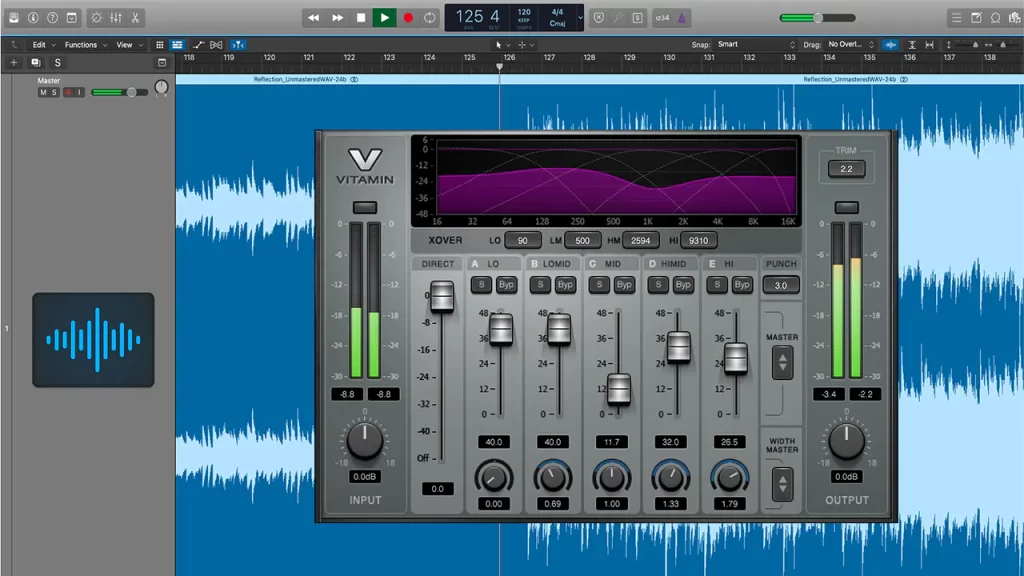
Sometimes there is a need to reach for some color and mojo. The Waves Vitamin Sonic Enhancer is designed for this purpose. It’s a multi-band harmonic enhancer that also can add some subtle punch and work with the stereo image.
I’ve always liked the sound of Vitamin. It’s silky smooth with just a hint of underlying aggression and edge lurking in there. For mastering this is usually exactly what you want. I like the way the controls are designed and presented. Vitamin is a joy to work with.
Waves Vitamin Sonic Enhancer Tips for Mastering:
- If you want to make your low-end mono, you can do that with Vitamin. Just dial the stereo width of the “Lo” band to zero.
- You can turn down the “Direct” fader completely to hear only the processing added by Vitamin. This is very useful.
- Watch the input and output meters. Match levels using the output gain to make better judgments.
Link: Waves Vitamin Sonic Enhancer
Waves Center
If you’re not used to mid-side programming, Waves Center gives you an easy and effective way to approach it.
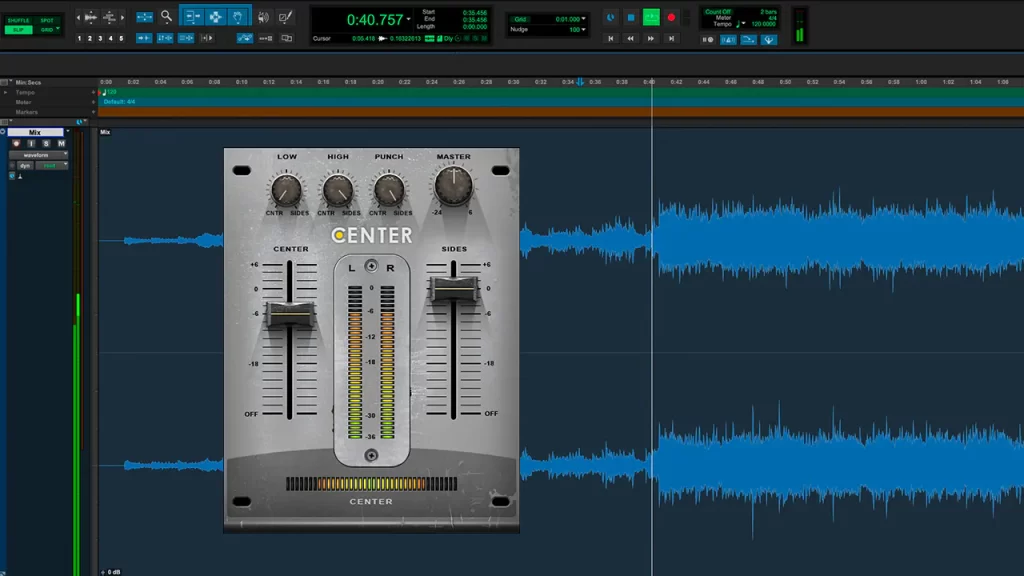
Center allows you to take control of your stereo image in some interesting ways. The two big faders allow you to set the relation between “Center” (or mid) and “Sides” (side) content. The “Low” and “High” knobs balance the low and high-frequency content respectively between the middle and sides of the mix. The “Punch” dial then focuses the transient content of the material more to the middle, or the sides.
It’s a deceptively simple set of controls. Yet Center packs a lot of power to shape the impact of the material.
Waves Center Tips for Mastering:
- Center is a subtle plugin. When looking for the right settings, turn down the “Center” and “Sides” faders in turns and tweak the controls at the top. That way it will be much easier to hear what is going on.
- For emphasizing punch, try focusing “Low” and “Punch” towards the center.
- For simple widening or narrowing of the stereo image, all you need to do is to push the “Sides” fader up or down.
Link: Waves Center
Waves S1 Stereo Imager
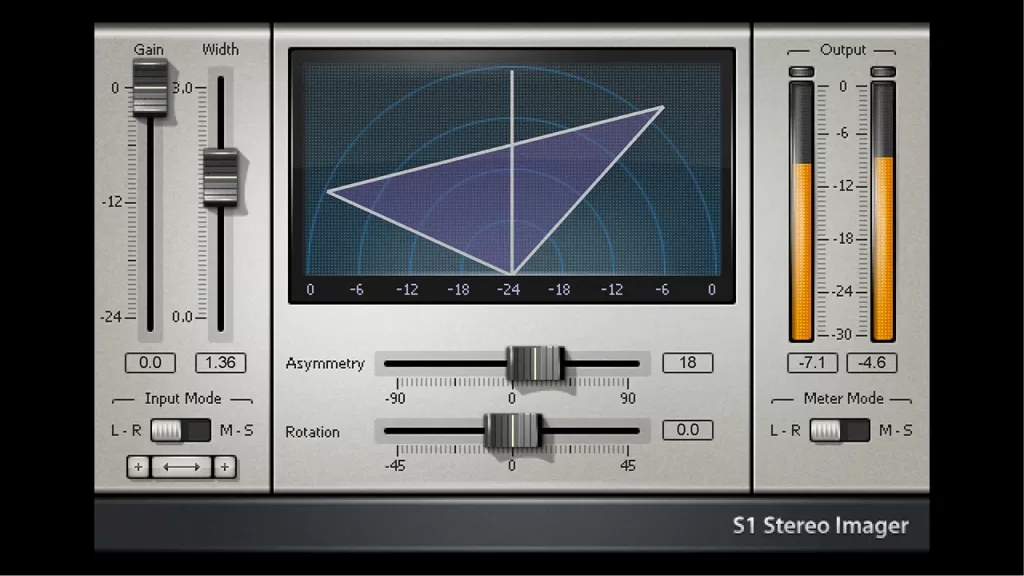
The S1 Stereo Imager is, of course, a classic of the classics. And it is just as relevant today as it was 25 years ago. The S1 is a toolset that allows you to enhance, readjust and fix issues in the stereo image. It relies on well recognized, non-destructive engineering principles in its design. It won’t produce unwanted side effects, which is crucial in mastering work.
Beyond simple widening or narrowing of the stereo image, S1 can for example fix asymmetrical mixes. You can re-balance the left and right components without affecting the position of the center image. Alternatively, the center image could be shifted left or right without affecting the sides.
Waves S1 Stereo Imager Tips for Mastering:
- Enhance Width: Use the S1 to subtly widen the stereo image, making the mix feel more expansive and open. Be careful to avoid excessive widening, which can lead to phase issues.
- Correct Imbalances: If the stereo image feels lopsided, use the S1 to correct any imbalances between the left and right channels, ensuring a balanced and cohesive sound.
- Focus the Center: If the mix feels weak because it’s too wide, you can narrow the stereo image to focus central elements like vocals and bass, making them more prominent in the mix.
- Use the Shuffle feature to safely add dimension in the lower end of the frequency spectrum. The “Freq” control defines the frequency below which the effect is applied. Shuffle is fully phase compensated so it won’t cause problems with mono compatibility.
- Using Shuffle can cause the mix to lose some perceived weight because the low-end frequencies are being distributed over a wider area. Not to worry! The “Bass trim” control is included to compensate for that, and it works great.
- Rotate the Image: The S1’s rotation feature allows you to shift the stereo image, which can be useful for correcting spatial issues or creating a unique stereo effect in your master.
Link: Waves S1 Stereo Imager
Waves API-2500
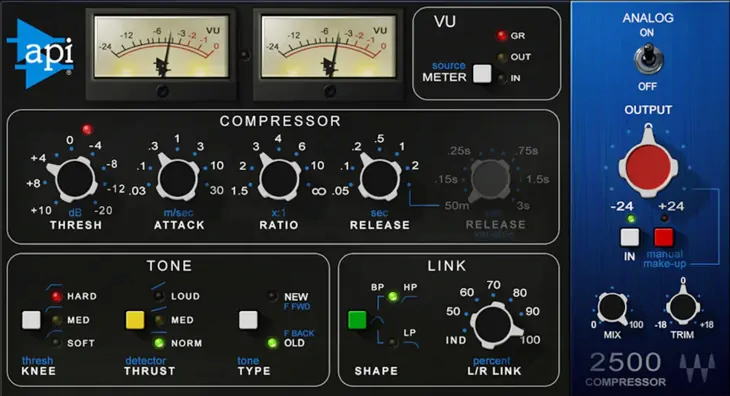
The Waves API-2500 compressor is an emulation of the classic API unit, known for its punchy and musical sound. It’s a versatile compressor that can add character and glue to your mix during mastering.
There are newer and more expensive models of this compressor available today from other companies, and I’ve tried most of them. For me this Waves version holds its own and is definitely the most punchy one that I have tried. Run a shootout and let me know in the comments what you think!
Waves API-2500 Tips for Mastering:
- Ultimate Punch: Try a Hard Knee, Loud Thrust, New Type setting with 30ms attack and .05 Release for big punch. Experiment with Ratio and set to your liking. Careful not to overdo it in mastering though!
- Parallel Compression: If you do end up going in very hard, the mix control allows you to easily blend the dry signal back in to find the right balance.
- Tone Shaping: The can help preserve low-end energy or add brightness, depending on your needs.
- Analog or digital: For mastering applications, I quite often like to turn off the Analog switch. This still gives the dynamic action that I want from this compressor, but with less coloration.
Link: Waves API-2500
Waves Linear Phase EQ
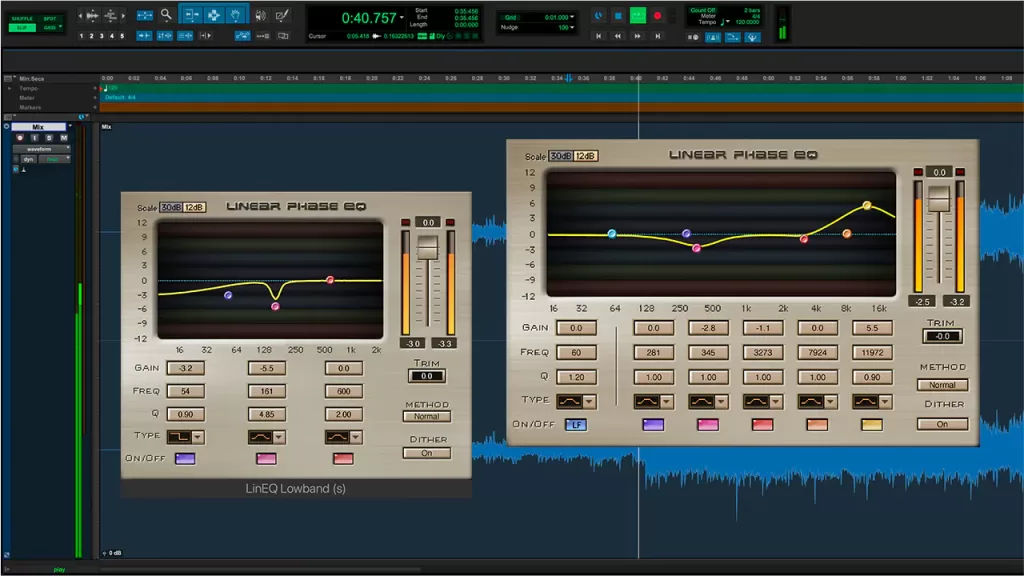
The Waves Linear Phase EQ is a transparent equalizer that is a go-to tool for mastering engineers who often want to avoid introducing phase distortion.
The downside of linear phase processing is that it can introduce pre-ringing, a type of artifact where a sound appears to play slightly before its actual onset. This effect becomes more pronounced with stronger processing, and it’s typically more noticeable in the low frequencies.
It’s important to choose a right tool for each job. Pre-ringing won’t be a significant issue once you understand how linear phase processing works and how to adjust the plugin’s setting settings accordingly.
Waves Linear Phase EQ Tips for Mastering:
The Method setting affects the plugin’s accuracy and offers three different options: Normal, Accurate, and Low Ripple. A good way to approach these is to first get your EQ filters dialed in, and then switch between the different Method settings to see which one you like best.
- Accurate Method: The most precise filtering. This method is best for tasks requiring precision but may introduce audible coloration.
- Normal Method: A compromise between filter accuracy and coloration.
- Low Ripple Method: Useful for avoiding audible coloration but at the cost of less precise filtering.
Link: Waves Linear Phase EQ
Waves Abbey Road TG Mastering Chain
The Waves Abbey Road TG Mastering Chain models the vintage EMI TG12410 Transfer Console used in all of the Abbey Road mastering suites ever since the ’70s. It was used on many legendary albums, such as Pink Floyd’s The Dark Side of the Moon, Nirvana’s In Utero, Radiohead’s OK Computer and Ed Sheeran’s “+” to name a few.
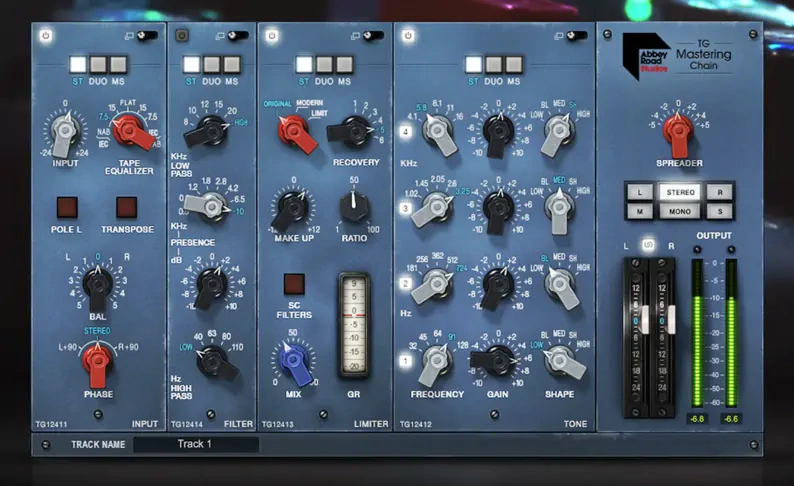
The plugin has several different sections including filters, EQ, compression and stereo widening. The sections can be switched on/off and you can change the order of the processing.
There is a small learning curve involved with the Abbey Road TG Mastering Chain. Especially if you’re not used to operating older analog equipment (or plugins modeled of them). The nature of some of the controls (particularly on the compressor) is not instantly obvious. The silver lining is that this plugin forces you to listen carefully and make decisions based on what you are hearing. That is a good thing in my books.
The reason I included this plugin here is simply because I love how it sounds. I am especially fond of the compressor. It’s very good for adding thickness and glue or creating subtle pumping movement. It has fantastic Mid-Side and sidechaining options, which make it a lot more versatile than it may seem at the first glance. Depending on the sound you’re looking for, it could be the best Waves compressor for mastering.
The stereo widener on the TG Mastering Chain can also sound amazing with the right material. The EQ is good too – vibey and quick to get good results with.
Waves Abbey Road TG Mastering Chain Tips for Mastering:
- You can expand the modules to get more functionality. Click the little switch on the top right corner of each module. Easy to miss!
- Spend some time getting to know the different modes of the compressor. Try it with different kinds of material. Also works great on individual tracks or group buses.
- The plugin sounds quite rich and it’s easy to get carried away and do too much. Look out for that, because mastering is all about subtle enhancements!
- Work with the output gain so that the output of the plugin stays as loud as the bypassed signal. This will make it much easier for you to compare before/after results.
Link: Waves Abbey Road TG Mastering Chain
Waves SSL G-Master Buss Compressor
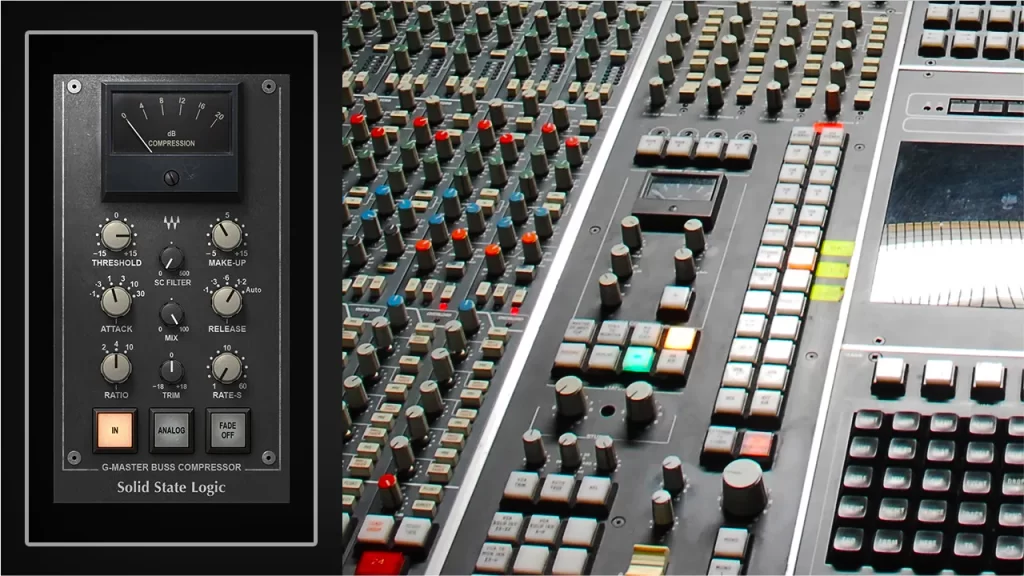
The Waves SSL G-Master Buss Compressor is a digital recreation of the legendary SSL G Series console’s bus compressor. It’s famous for its ability to glue a mix together, providing punch and cohesion.
It’s a great tool to use for subtle pumping movement or glue compression. Besides the master bus, it can also work great on drums. If you don’t have a compressor like this yet and can grab this for a good price, the Waves SSL G-Master Buss Compressor is a good asset to have in your arsenal.
Waves SSL G-Master Buss Compressor Tips for Mastering:
- Glue the Mix: Use the SSL G-Master Buss Compressor with a low ratio and slow attack to create that famous “glue” effect, bringing the mix together without losing its dynamic range.
- Set the Threshold Carefully: Adjust the threshold so that the compressor is only applying 1-2 dB of gain reduction, which gives you subtle but effective compression.
- Auto Release for Consistency: Use the Auto release setting for a consistent response across different parts of the track. This maintains a smooth and natural sound.
- Enhance the Punch: Set a slow enough attack time to allow the transients to pass through. This setting preserves the punch of drums and percussive elements while controlling the overall dynamics.
Link: Waves SSL G-Master Buss Compressor
FAQ
The following Waves plugins are great for mastering:
Waves F6 Floating-Band Dynamic EQ
Waves L2 Ultramaximizer
Waves C6 Multiband Compressor
Waves Linear Phase Multiband Compressor
Waves Vitamin Sonic Enhancer
Waves Center
Waves S1
Waves API-2500
Waves Linear Phase EQ
Waves Abbey Road TG Mastering Chain
Waves SSL G-Master Buss Compressor
The basic types of tools in mastering include EQs, single-band and multiband compressors, stereo image processors, transient shapers and limiters.
Mastering is a very delicate process and it’s easy to ruin your music if you don’t know what you’re doing. It’s best to adopt a “less is more” approach when it comes to mastering plugins.
1. Download and install the Waves Central application from Waves.
2. Launch Waves Central and log in with your Waves account details if prompted.
3. Select “Install products” from the navigation.
4. Select “My products” to view the plugins you’ve purchased.
5. Select the plugin you wish to install and click “Install and activate”.
1. Download and install the Waves Central application from Waves.
2. Launch Waves Central and log in with your Waves account details if prompted.
3. Select “Settings” from the navigation.
4. Go to “Maintenance”. You’ll find the uninstall options there.
Best Waves Mastering Plugins 2025 – Conclusion
What do you think? Any further questions about these plugins? Let me know in the comments section and I’ll get back to you.
For further reading, you may also want to check my broader post about best Waves plugins: The Best Waves Plugins in 2025.
Leave a Reply