My quest for the best mix bus compressor plugin is neverending. I have spent countless of hours reviewing and testing different plugins. Here are my picks for the best bus compressor plugins in 2025.
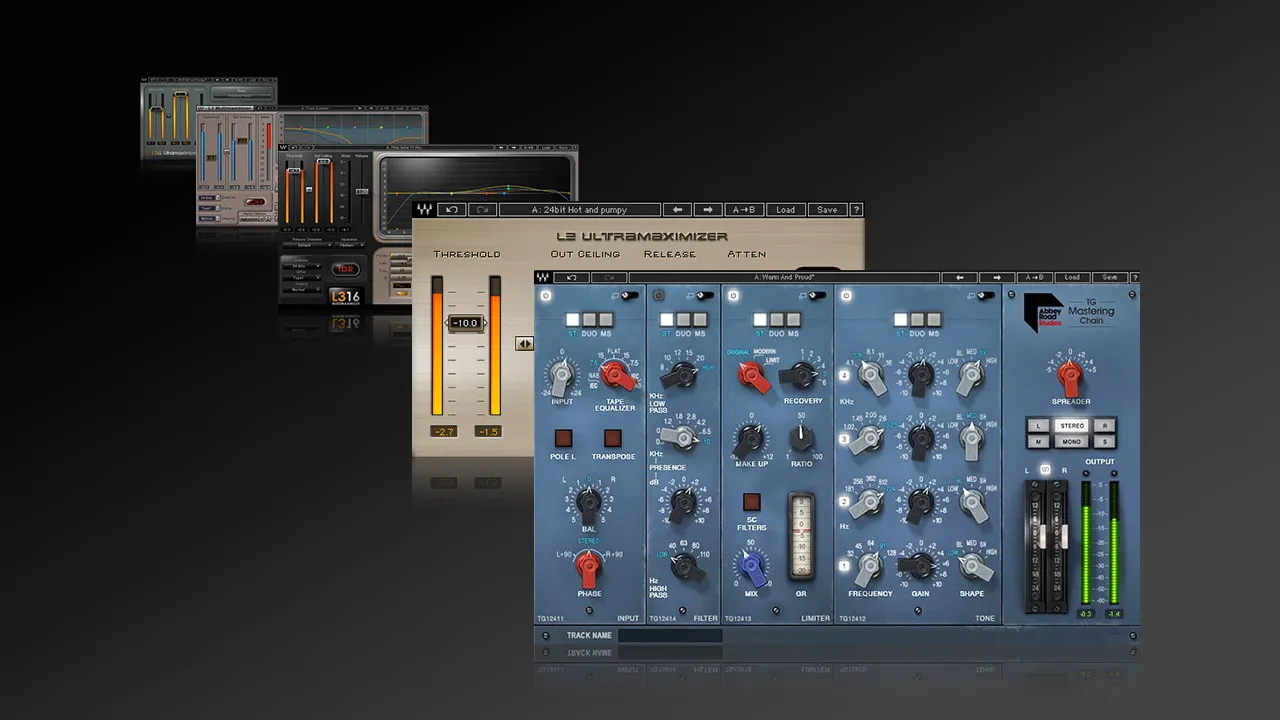
There are a lot of plugins covered in this article and related video so let’s address one question first up: Do you have to have so many? Of course not. I’ve accumulated a lot of plugins over the years. Many of them I’ve bought but I also get a lot of plugins for free. I make music, but I also do mixing and mastering work for others. I need different types of tools for different situations.
In this review, I’m presenting you the mix bus compressor plugins I like and use. But please do not feel like you need to have a ton of different plugins in order to get good results.
Think about your needs. What kind of sound you are looking to achieve? Take a look at what is available. Maybe your DAW already has one that works for you? Demo different products.
Are you consistently working with the same type of material? You might only ever need one good mix bus compressor plugin. In any case, the key is to test it for yourself.
Table of Contents – These Are The Best Bus Compressor Plugins in 2025
For your convenience, here is a list of all of the chosen plugins. Continue reading for the blog post and video below.
- iZotope Ozone
- FabFilter Pro-C2
- UAD Fairchild Tube Limiter Collection
- Waves Abbey Road TG Mastering Chain
- Waves SSL G-Master Bus Compressor
- Waves MaxxVolume
- U-He Presswerk
- TDR Kotelnikov GE
- TDR Limiter 6 GE
- UAD API 2500
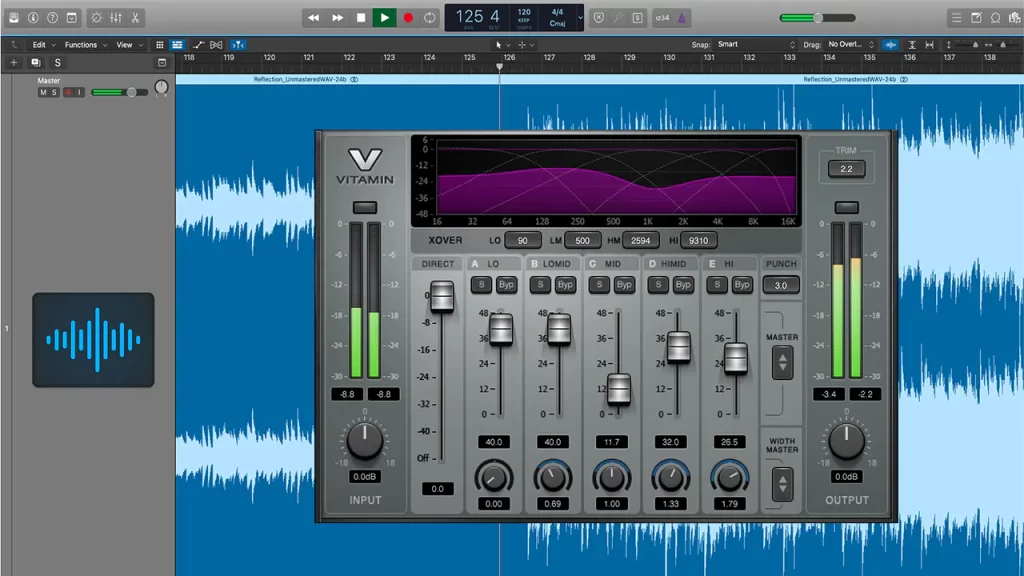
iZotope Ozone
iZotope Ozone offers great tools for mix bus compression. The added benefit is that besides the compressors you also get a whole host of super useful tools. The Standard version of Ozone works as a single plugin that hosts all the different modules. With the Advanced version, which is what I use, you can also use all of the modules as separate plugins.
The standard and advanced versions of Ozone come with two different compression modules that are both great for bus compression: Dynamics and Vintage Compressor.
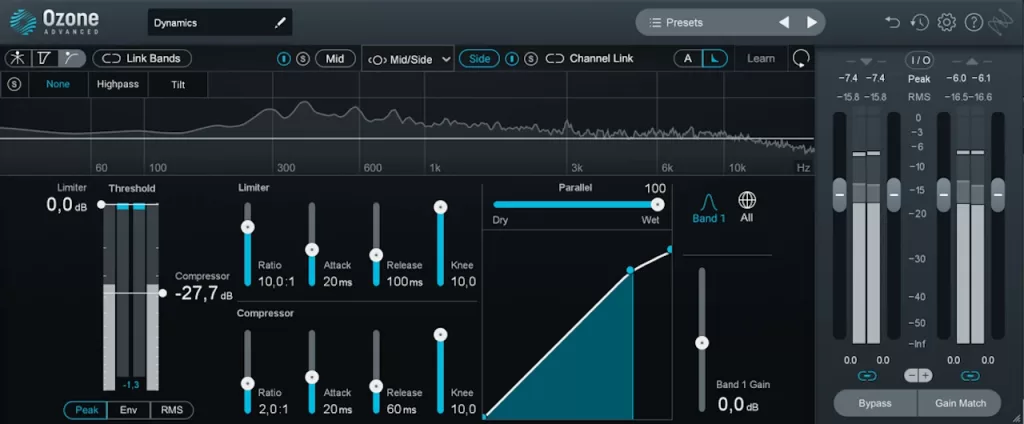
The Dynamics Module
The Dynamics module is super flexible and sound great. It has that modern hard hitting sound that works especially well for electronic styles, but also other types of music.
For bus duty I like using Dynamics in single band mode. But you can have up to 4 bands if you wish.

The Vintage Module
The Vintage Compressor is a single band compressor with three characters: Sharp, Balanced and Smooth. They all sound different and great in their own right. The UI is super clean and nice to operate. The great metering section as well as auto make-up gain are very nice to have also.
iZotope Ozone Dynamics Tips
- Try running the Dynamics in Mid/Side mode. A whole new world opens up from there.
- Try the different detection modes (Peak, Env, RMS). They all result in a different sound.
- The detection filter is very versatile. The Tilt setting works similarly to Thrust control in the famous API 2500.
- Ozone offers great facilities for working with the gain. This helps to make better decisions and not cloud your judgment by volume differences. Make use of these facilities!
- There is an auto-gain option above the “Gain” fader. I like to keep it on but then fine tune the gain manually.
- The master section has a “Gain Match” option to further help you match the level of your processed signal to the unprocessed one.
- The RMS meters will help you too, and it’s nice to have precise input and ouput gain faders in the master section too.
Link: iZotope Ozone
FabFilter Pro-C2
A true all in one workhorse. The Fabfilter Pro-C2 has a ton of options including an extremely featured sidechain filtering section. It has several different compression modes including Bus, but also Clean and Mastering which can also work equally well in a bus compression context.
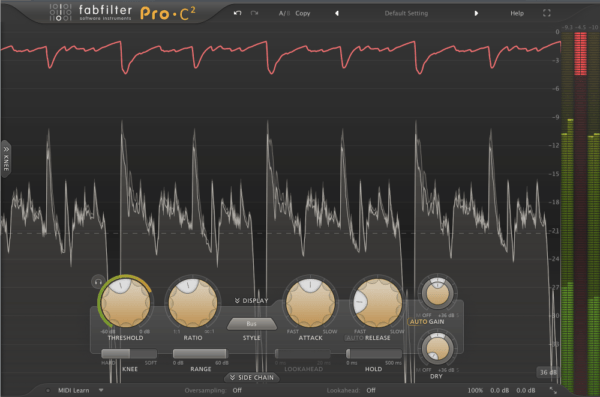
It has great metering and visual feedback which is especially helpful for someone just trying to learn about compression. A great learning tool! The Pro-C2 has switchable oversampling of up to 4x.
You can do just about anything with this plugin, which is also its downside. Personally I often rather reach for something quick and easy that I know will get the job done without too much tweaking. That said, the Fabfilter Pro-C2 comes with good presets for mastering and mix bus that will get you going in no time.
Link: FabFilter Pro-C2
UAD Fairchild Tube Limiter Collection
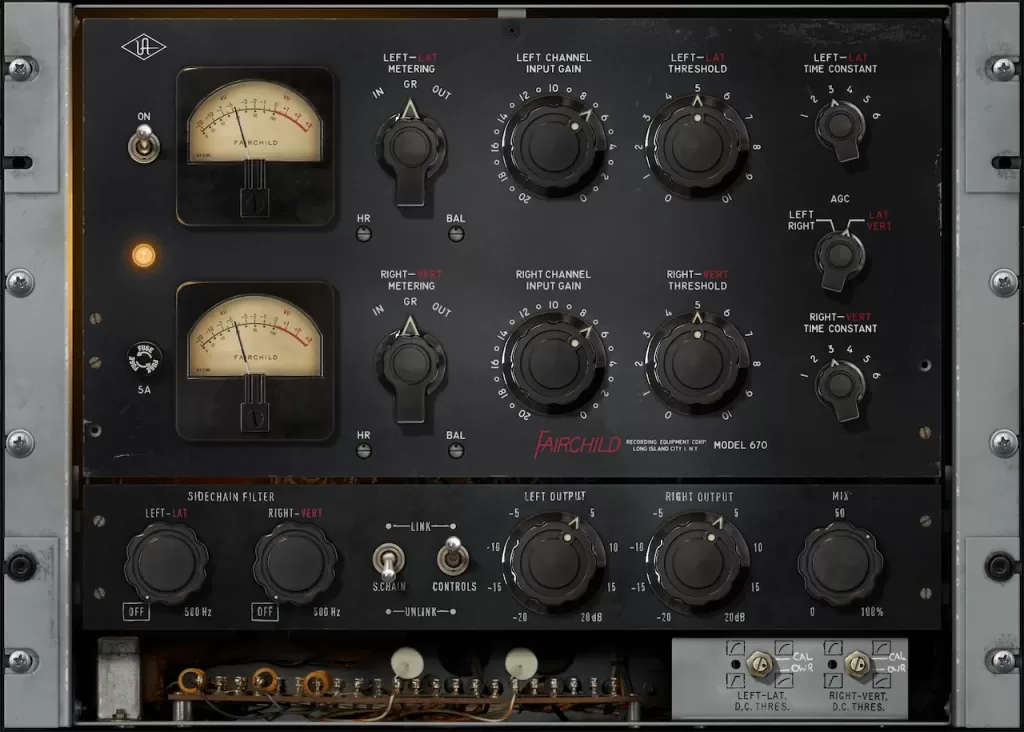
The UAD Fairchild Tube Limiter Collection is one of the finest emulations of vintage tube limiters on the market. The plugin imparts silky warmth and harmonic richness on the material.
If you’re looking to add a touch of vintage magic to their mixes, this compressor delivers just that.
Link: UAD Fairchild Tube Limiter Collection
Waves Abbey Road TG Mastering Chain
The Waves Abbey Road TG Mastering Chain includes several nice tools for the mix bus. But for this article, let’s just focus on the wonderfully chunky compressor/limiter. If you want to read more about it, check my blog posts about The Best Waves Plugins and The Best Waves Plugins for Mastering.
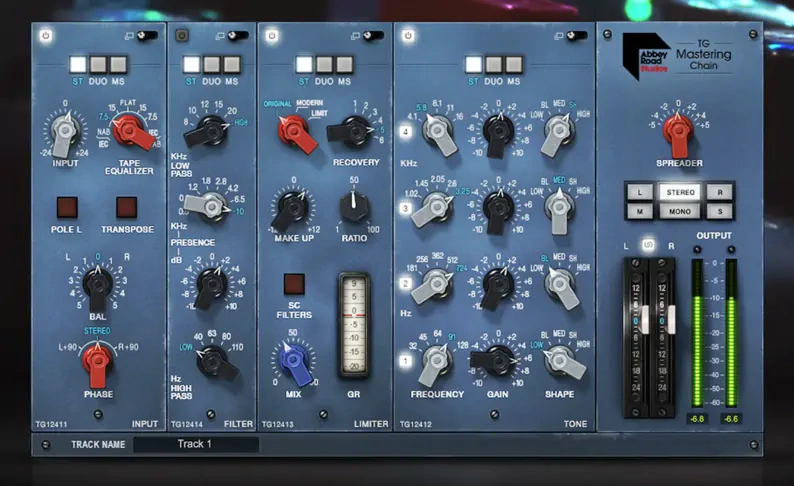
The TG Mastering Chain has been in use in the Abbey Road studios ever since the early ’70s. It has contributed to the sound of countless hit records, including Pink Floyd’s The Dark Side of the Moon, Nirvana’s In Utero, Radiohead’s OK Computer and Ed Sheeran’s “+”.
The compressor on the TG Mastering Chain sounds chunky and has lots of character. It has three modes to choose from, each bringing a different flavor:
- Original
- Modern
- Limit
There are six different settings for release time, a ratio control, make-up gain and a wet/dry mix knob. By opening up the extended control panel, you also get access to separate controls for L/R or Mid/Side compression as well as very nice sidechain filtering options.
The compression sounds smooth, solid and deep. It brings together the low end of the song and makes it sound stronger. The different release characteristics and compression modes offer plenty of options for finding just the right timing for the material. It is easy to get very pleasant movement and pumping action going if that’s what you desire.
Waves Abbey Road TG Mastering Chain Tips
- Personally I find myself going with the “Modern” compression mode most of the time. It works the best with the type of material I usually work with.
- The Mid/Side option on this compressor is great to have. You can use it to get the center of your mix really tight without having to worry about the compressor reacting to/affecting the material on the sides of the stereo image. Equally, you could use it to clamp down or widen the stereo field. Open the extended panel (top right corner of the compression module) and learn to make use of the M/S features!
- Learn to use the sidechain filtering options. The bell filter is especially nice to have for making the compressor react more on certain frequencies. The M/S functionality and the powerful sidechaining together bump up this compressor to a new level.
- The output/monitoring section of the plugin has options for soloing the Mid and Side components of the material, as well as checking how your mix sounds in mono. Very helpful, especially when doing Mid/Side compression!
- Remember to work with the makeup gain to keep your levels in check. You don’t want your compressed end result sounding any quieter or louder than your unprocessed signal. This makes it easier to do before/after comparisons.
Link: Waves Abbey Road TG Mastering Chain
Waves SSL G-Master Bus Compressor
The Waves SSL G-Master Bus Compressor is a classic plugin, modeled after a classic compressor. This SSL bus compressor clone has been around for a long time but I find it still holds up nicely. There is nothing wrong with it, it can be had for a great price and it works in many situations.
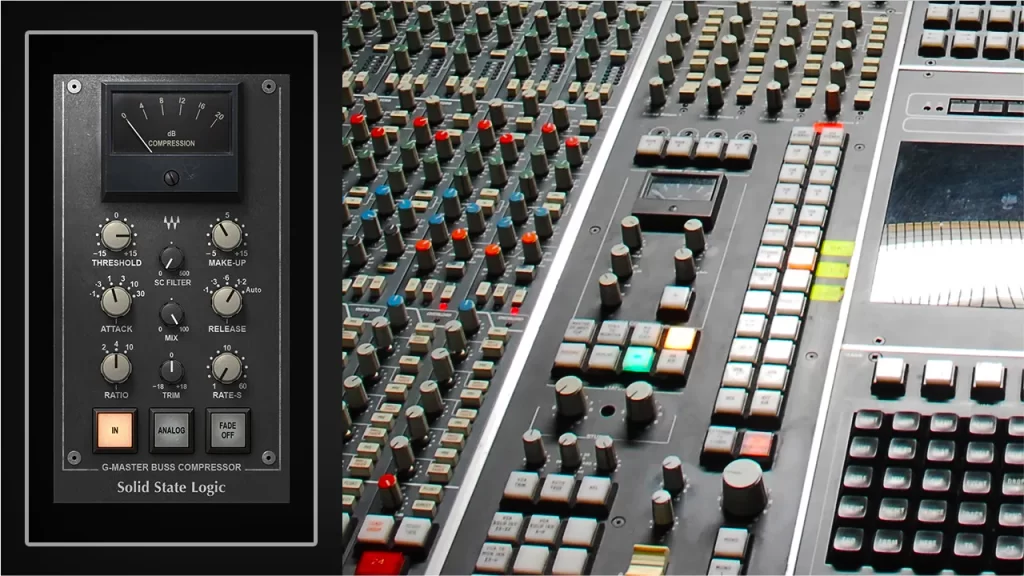
I typically use this to create just a small amount of movement in the mix, barely making the needle move.
What I also like about the Waves SSL bus compressor clone is that it’s very quick and easy to dial in and get a good sound going. I would not recommend paying the expensive full price for it because it’s very often discounted.
Waves SSL G-Master Buss Compressor Tips
- This compressor does not have a mix knob so be careful with the fast attack settings. You don’t want to kill your transients. Attack settings of 10 or 30ms are the safest.
- Adjust the release time so that the compression moves nicely in sync with your material, creating movement or glue.
- For a more aggressive sound, bring down the attack and use a faster release time.
Link: Waves SSL G-Master Bus Compressor
Waves MaxxVolume
Don’t be fooled by the ageing looks of Waves MaxxVolume. This plugin can do some seriously good things on your mix bus. It’s very easy to operate and gives you clean loudness and glue on the mix bus.
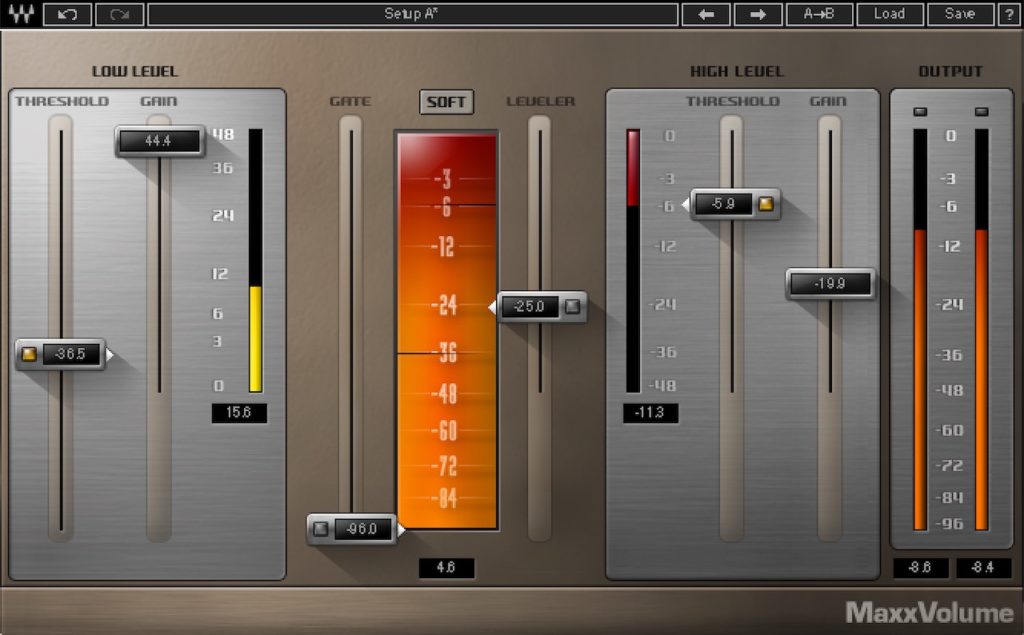
The Waves MaxxVolume is quite a unique plugin in that it offers both low and high-level compression. It brings together algorithms from different Waves plugins such as the L2, C1 and Renaissance Compressor.
In a standard compression setting, any signal above the set threshold gets compressed and attenuated. With a low level compressor, any signal that goes below the set threshold gets compressed upward, resulting in an increased gain. The dynamic range is thus compressed, pushing low levels up while leaving high levels as they were.
This is a set and forget type plugin. It’s very easy to dial in and quite safe provided you don’t go crazy with the gain reduction.
Waves MaxxVolume Tips
- I typically do only 1-2 dB of both high and low-level compression on the mix bus. This is enough to give me a nice boost in overall volume without changing the character of the mix much.
- Use the bypass switches on the threshold faders to hear the difference between processed and unprocessed signals.
Link: Waves MaxxVolume
u-he Presswerk
The U-He Presswerk is a compressor with lots of options. It is great for someone who likes to go deep. It sounds very analog, especially when you start to hit the saturation and soft clipping the right way. It’s also very easy to go overboard with this compressor.
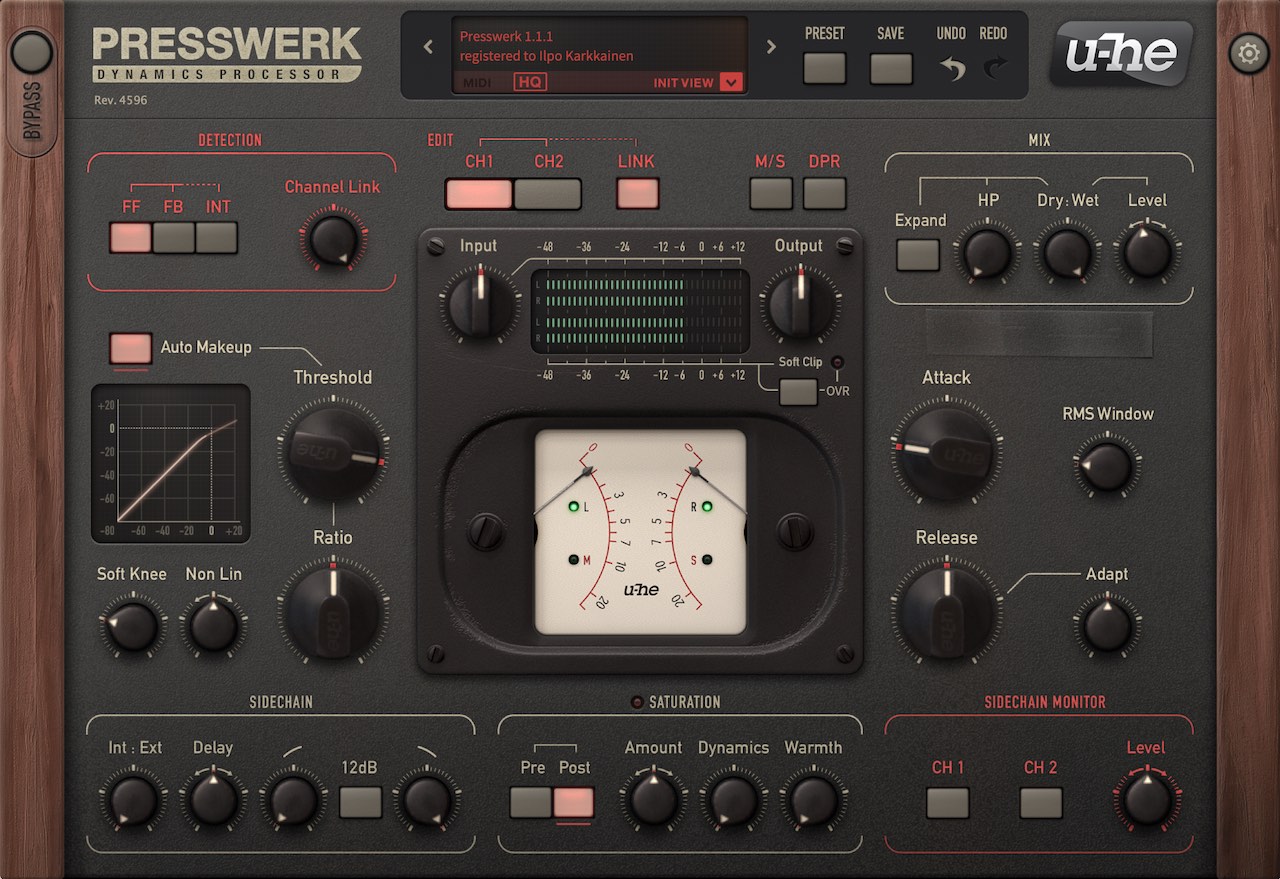
The Presswerk has tons and tons of controls, and it’s all very useful. This plugin is a lot of fun to play around with! It also has several simplified modes that hide and automate many of the detailed controls and allow you to focus on what’s essential. The preset manager is very good too, complete with descriptions and a resizable GUI.
If you’re after a thick and gluey analog-type sound, definitely check this compressor out.
Link: U-He Presswerk
Tokyo Dawn Labs Kotelnikov GE
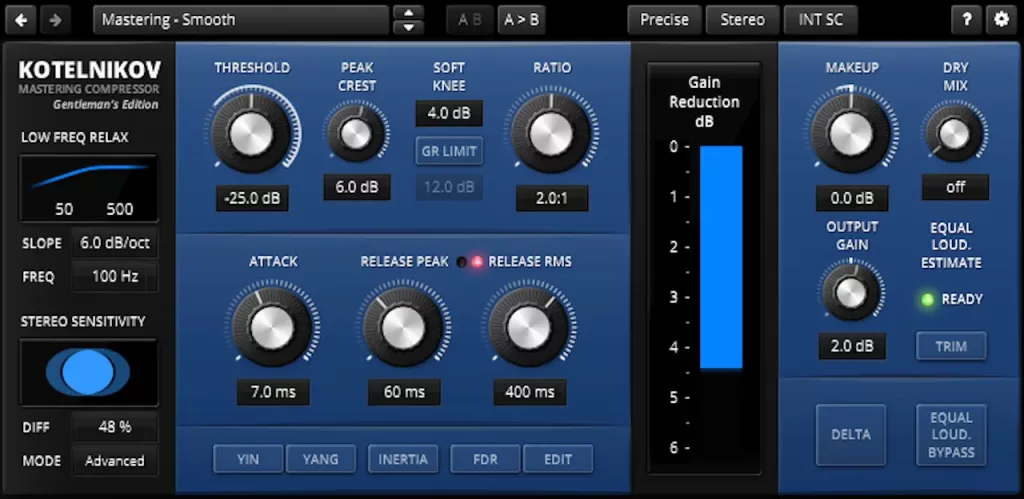
Now, I’m first to admit that I’m biased with this one. I have been involved with beta testing the TDR Kotelnikov GE. I’ve also been releasing a lot of music on Tokyo Dawn Records (the label) back in the 90’s! So I go a long way back – almost 30 years – with Tokyo Dawn. However, it also means I know that Tokyo Dawn Labs guys know what they’re doing.
The Kotelnikov GE is a super modern and transparent compressor for mastering and mix bus duties. It is inspired by the legendary Weiss DS1-MK3 compressor, but doesn’t attempt to sound the same.
It has a whole host of innovative features including things like equal loudness bypass and frequency-dependent ratio.
It’s an advanced plugin to use and because of the unique feature set, there is a learning curve. But all the information is clearly laid out for you in the interface as well as the manual.
Proudly digital, very trustworthy, great quality and affordable. Plus it comes with some presets designed by me! What more do you want may I ask?
Link: TDR Kotelnikov GE
TDR Limiter 6 GE
TDR Limiter 6 GE is an entire dynamics toolkit comprising of compressors, clippers, and limiters. I often use it for the purpose of mix bus compression alone. You can hide the other modules and just have the compression and output/metering sections visible.
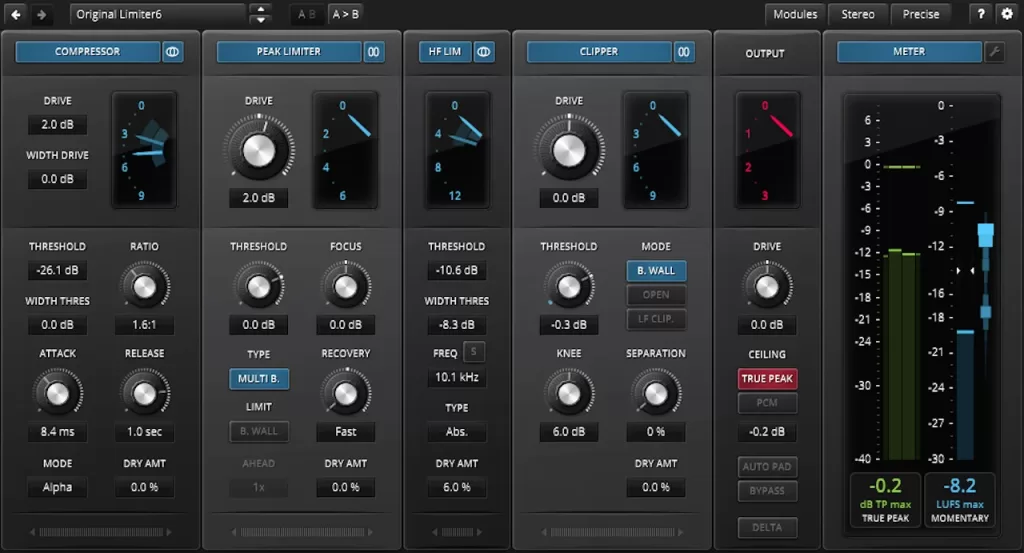
The compression section includes five different compressors: Alpha, Sigma, Leveler, Nova, and Broadcast. For the type of music I often work with (modern drum&bass), Sigma works great.
I also love the excellent output and metering options. They are making the task at hand a lot easier.
Link: TDR Limiter 6 GE
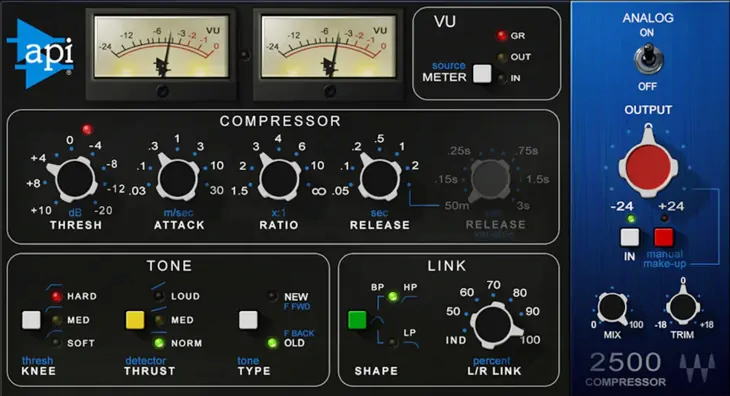
UAD API 2500
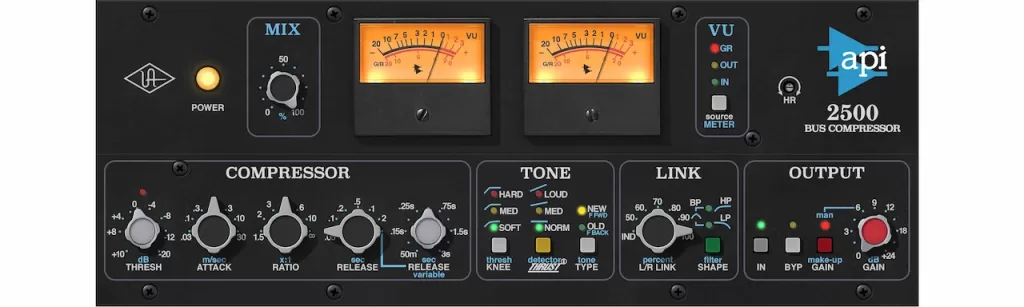
The UAD API 2500 is modeled after one the most iconic compressors out there. It’s a great compressor to get some thickness, movement, and glue into your mix.
What about Waves API 2500 vs UAD API 2500? I’ve used both plugins extensively. My take is that the UAD sounds more analog and feels better in use, but the Waves plugin sounds more punchy. I have not been able to get the same kind of smack from the UAD. But for glue type compression, more nuanced analog modeling and overall better user experience, I would go for the UAD.
Link: UAD API 2500
The Best Bus Compressor Plugins – Video
Here is a video where I go through some of these compressors (and a few more) in a typical work setting!
The Best Bus Compressor Plugins in 2025 – Final Words
There we go – a review of what I think are the best bus compressor VST / AU / AAX plugins. What are your thoughts? Do you have some different favorites? Do you have any questions about any of the plugins?
Let me know in the comments.