A while back I asked my email subscribers: What area of music production are you struggling with the most? Your feedback was abundant! I learned that working with bass, sub-bass and the low end of the mix generally was challenging for many of you. So let’s do something about it!
The question about how to get the bass right in your mix is always a difficult one to answer off the bat. That’s because it’s a sum of so many different things. Your approach can also depend on your tools and individual listening conditions.
My aim with this article is not only to collect some general facts on the topic. It’s also to share my personal approaches and the tools I’m using. It’s a long article even though I have done my best to cut any waffle. There’s no way around it: It’s a complex topic that we need to cover from many angles.
There’s bonus content available for my Patreon supporters. You can download these materials via my Patreon page:
- Ableton Live 10 and Logic Pro X projects for testing the bass response of your speakers and your room.
- Ebook version of the article in PDF, EPUB and Kindle Mobi formats.
We’ll begin by talking a little bit about some fundamentals you should be aware of. Then we’ll move on to more hands-on tips and strategies for getting that nice and solid low end going! You should know that this post includes mentions of companies I’m affiliated with. I get offered a lot of free stuff (too much in fact to even try most of it). I only ever talk about the stuff I like and use.
Why is it so hard to mix bass and sub-bass content?
Getting the low end and sub-bass right is often the single most difficult task in mixing. Why is that so? There are two major things contributing to it:
- It’s often hard to distinguish what is happening in the lowest end of the frequency spectrum. This is due to limitations in playback systems as well as the uneven acoustic response of most rooms.
- The low end is very sensitive to mistakes. Make one poor judgment and it’s game over.
It takes more time to develop the experience and ear to work with the low end than many other things in mixing.
Know your playback system
You should begin this journey by becoming aware of the low-end extension of your playback system. How low does it actually go? Don’t only read the specs. The manufacturer has measured them in the perfect environment. The room the speakers are in plays an important role. If you’re out of luck you might be rolling off 10-20Hz higher than the listed specs of your speakers.
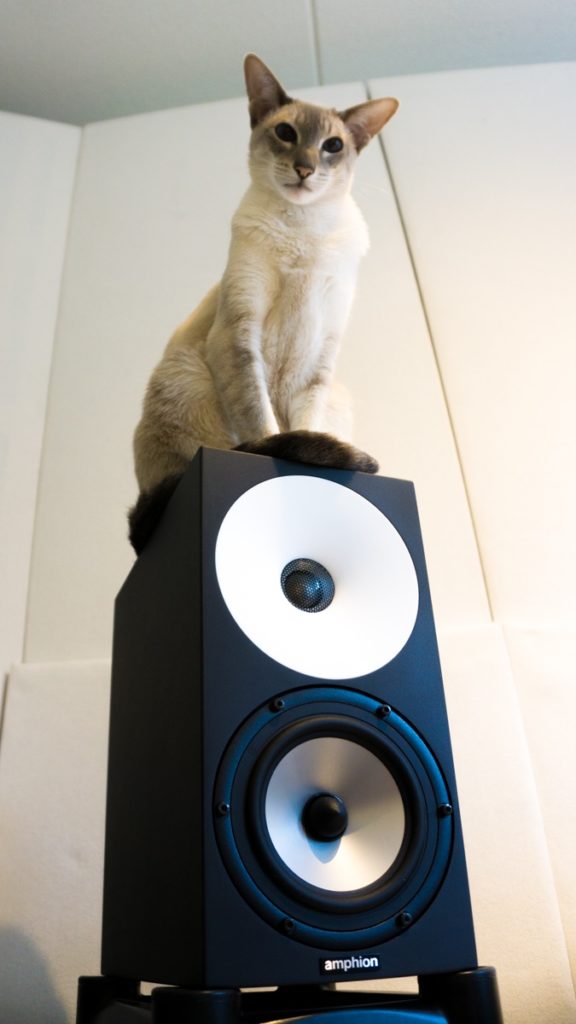
You have to test the low-end response of your room for yourself. I recently switched to a passive Amphion system (approved by my proud assistant as you can see). In my current room, I can hear a sine wave down to about 37 Hz. And I still perceive it as vibration as low as 29 Hz. Pretty good for a system without a subwoofer!
While testing, you may notice speaker cones moving below the lowest audible frequency. We’ll come back to this in the section about cleaning the low end of the mix. It goes to show how unintended low-end rumble can grab control of your speakers.
Know your room
The acoustic properties of your room play a very important role when working with bass. All rooms have natural resonances (or standing waves). The frequency response of most untreated rooms has large dips and peaks in the bottom end (0-200 Hz) area.
Shorter (higher frequency) sound waves tend to scatter around the room more. Longer (lower frequency) sound waves are much more predictable. Bass builds up in certain areas of the room. These spots are easy to identify. When moving around in the room you will hear the bass get much louder at spots. This is often particularly noticeable in the corners. In other spots, sound waves of the opposite phase are meeting and canceling each other out. This creates a dip in frequency response.
Most rooms have problems in the low end
Unless you’re working in an expensive purpose-built studio, your room has acoustic problems. This holds true even if you have done a fair bit of acoustic treatment. As an example, I’ve got 14 bass traps from GIK Acoustics and I still have a 6 dB dip at 60 Hz.
It gets especially problematic in modern concrete buildings. Wooden buildings will let more of the bass escape instead of making it bounce around in the room. The smaller the room is, the worse it also gets.
It is not uncommon to have peaks and dips of 20 dB or even more in untreated small rooms. Imagine you have a peak of 20 dB at 130 Hz and a dip of 20 dB at 60 Hz. What will that do to your music as you are compensating for those problems inside your mix? It will sound fine in your room but in reality, it has no punch and is chocking of sub-bass.
Test the sub-bass and bass response of your room
To test this for yourself, you can play this sine wave sweep (make sure your volume isn’t too loud!):
Listen to how loud the sine wave sounds in the different parts of the sweep. I bet you are hearing the sound get louder at some frequencies and quieter at others, right? Those are the peaks and dips present in the room at your listening position.
The more bass energy you have bouncing inside your room, the more pronounced this problem will be. This is why it’s also important to have appropriate size speakers for the room you are in. Smaller rooms will amplify bass by nature so you don’t need huge speakers in a small space. You’ll be better off investing in smaller speakers of better quality. This also goes for a subwoofer. Be mindful of the amount of bass energy you are letting loose in the room.
Bass test project download (Patreon bonus content)
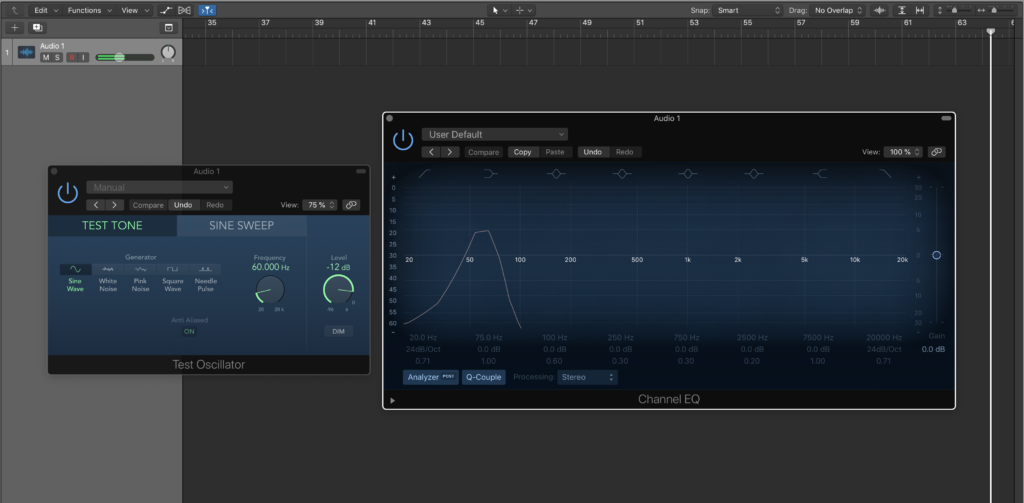
For effortless testing, I’ve set up projects for Ableton Live 10.1. and Logic Pro X 10.4.4. as a bonus download for my Patreon supporters. You can use these projects to determine the bass response of your speakers. You can also test how your room behaves with specific frequencies. Click through to my Patreon page to grab the download (you’ll find it under Posts).
Instructions for Ableton Live:
- Press play.
- Turn up the volume on the channel (I’ve turned it down for safety reasons).
- Use the “Freq” dial on the Operator synth to shift the frequency of the test tone.
- Spot the lowest frequency that your speakers can produce.
- Listen for how the bass gets louder or quieter at certain frequencies.
Instructions for Logic Pro X:
- Press play.
- Turn up the volume on the channel (I’ve turned it down for safety reasons).
- Use the “Frequency” dial on the Test Oscillator effect to shift the frequency of the test tone.
- Spot the lowest frequency that your speakers can produce.
- Listen for how the bass gets louder or quieter at certain frequencies.
How to improve the situation
So now we know our low-end response is most likely compromised. How do we work with that? Do what you can to fix it. You can take these steps:
- Get the data by measuring the frequency response of your room. I’m using Sonarworks (which also automatically compensates for the problem areas). The free Room EQ Wizard is also great for measuring and getting a myriad of data. You will need a calibrated microphone or an SPL meter.
- Identify problem areas. If you can adjust your listening position, see if things get better that way. In typical rooms, the ideal listening position is often about 1/3rd of the way from the front wall. But this can vary because there are so many different variables at play.
- Do everything you can to suppress the rogue low frequency energy running around in your room. Build/buy the acoustic treatment that you can. Big objects like couches and beds also help to suppress the low end. You could roll up mattresses in the corners of your room. Get creative but don’t hold your expectations too high. It usually requires pretty heavy measures to get the low end of a room under control.
- Lastly, you can use room correction. It corrects the audio output of your system based on the characteristics of your room. It won’t fix poor acoustics. There are also potential issues it can cause, but when used right it can make things much better in many situations.
At the very least you should know what the gaps and peaks are in your room. You can then take that information into account when mixing. If your room is super difficult, it might be better to invest in a decent pair of headphones. By the way, Sonarworks also corrects most popular studio headphones.
Compare your music to other material
Comparing your music to reference
A useful trick is to use a low pass filter to cut everything else but the low frequencies. Then compare your mix with the reference track. This allows you to better hear and compare sub-bass and other details in the low end.
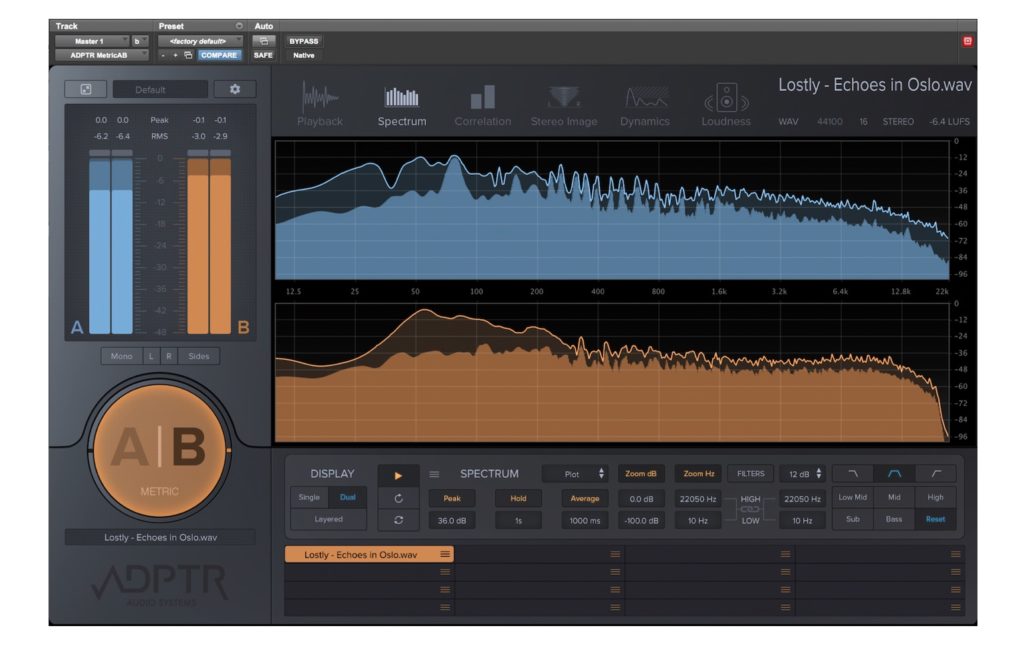
You can also combine referencing with visual analysis tools. I love using the ADPTR Audio Metric AB plugin for referencing and metering. It gives you tons of data about your mix. It also has great tools for listening and comparing your music to the reference material.
Commercial releases are mastered by a professional. Keep that in mind when referencing. This means the music has been limited so it plays louder and has less dynamics than your raw mixdown. We tend to perceive louder as better – especially when it comes to bass. Account for that when listening.
It also pays off to listen to your music in other places and playback systems. This is especially helpful if the acoustic bass response of your room isn’t ideal.
Use spectrum analysis
A spectrum analyzer is an essential tool for working with the low end of your mix. You can’t always trust what you are hearing. It’s better to keep an eye on the sub-bass too.
I have written about using spectrum analyzers in more length before in this post: How to use spectrum audio spectrum analyzers in music production and mixing. See the sections: “Standing Waves and Working In a Compromised Listening Environment” and “Working With Less Than Ideal Monitoring”.
If you need a good free analyzer, I recommend grabbing the Voxengo SPAN. Izotope Insight is great as a very feature-rich paid alternative.
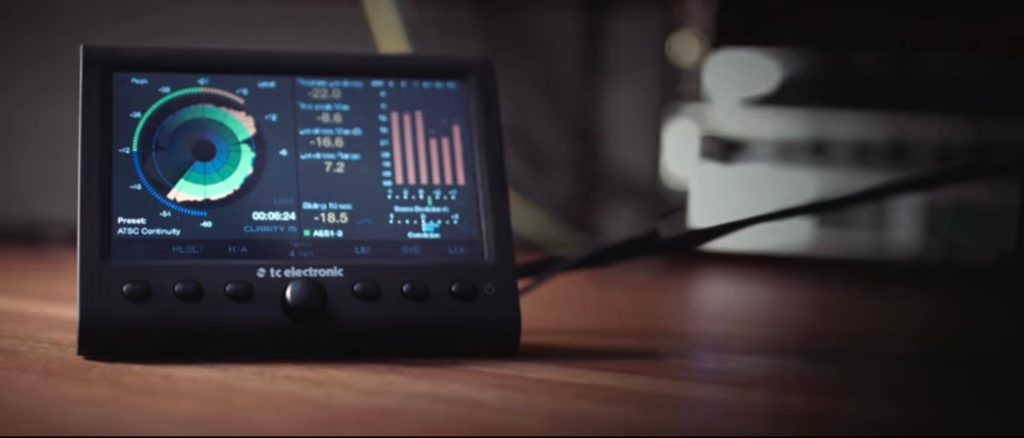
I should add that about a year back I invested in a hardware meter (TC Electronic Clarity M ). It has taken my metering game to a new level because it’s always there for me to look at. The Clarity M accepts signal via a plugin from your DAW (via USB) or via the optical output of your audio interface. For what it offers and the excellent build quality, it’s also affordable.
Get it right at the source
In all production, it is crucial to use good quality sound sources. If your sounds are lacking in quality from the get-go, your entire mix is going to be an uphill battle. Invest in tools that allow you to get that good solid bass going in the first place. What those are for you depends on your situation. Better recording equipment? An analog synthesizer with a fat low end? Some great quality sample packs?
What I like to do is craft bass sounds using my Elektron Analog Rytm synthesizer. The sub-bass on it is super solid. I run that into the Louder Than Liftoff Silver Bullet tone amp. That gives me options for API and Neve style analog saturation plus a Baxandall EQ. Finally, I record into my DAW via the Prism Sound Titan interface. The AD/DA conversion in Titan is fantastic. That means everything gets captured and played back in great quality.
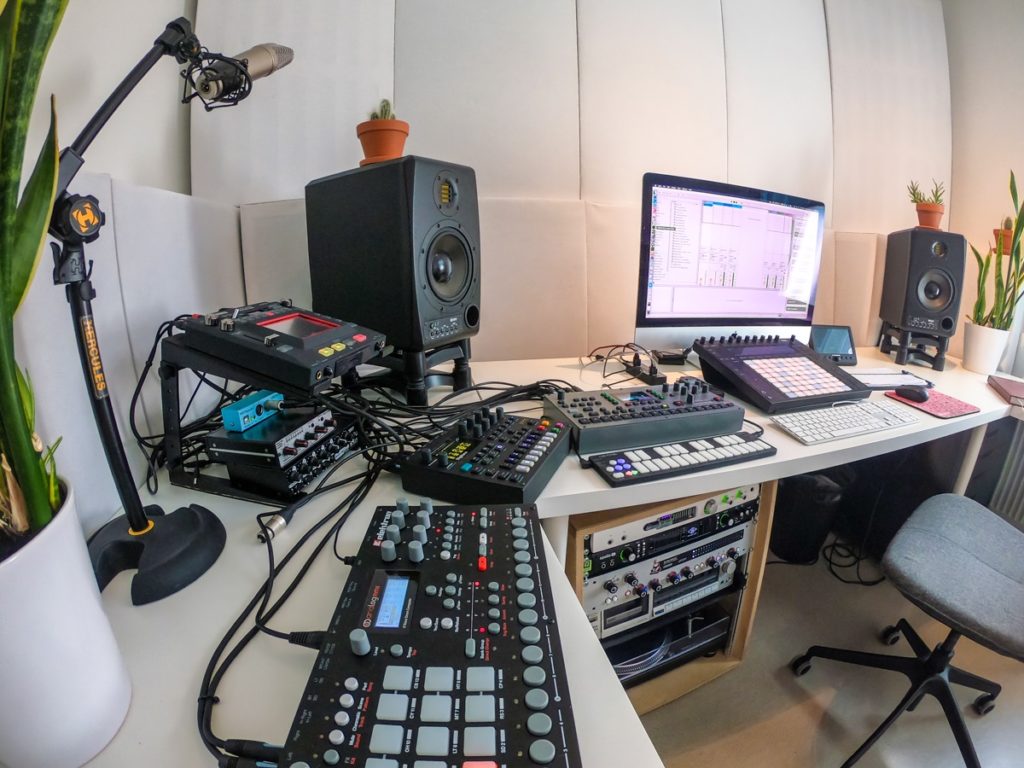
This approach sounds super solid. It also allows me to craft the sound at the source so that it works the way I want in that particular situation. I’m not saying analog is the only way. In fact, it’s definitely not (and not all analog is the same either). But there are quality differences between different tools. That goes for software too.
How do you know a good quality sound?
How do you know what’s good then? A spectrum analyzer will not be of any help. It only shows you there are frequencies present. It doesn’t tell anything about the actual quality of the sound. Compare your music to something else that you know is good. In the end, you will have to trust your own judgment. What do you hear? What kind of feeling does the bass create in your body? How did you arrive in the current situation?
A good quality low end sounds and feels solid, strong and defined. Not flappy, weak or unprecise. A good quality bass sound comes through in the mix even on a lower volume. Are you always making bass louder to make it present in the mix? There’s likely an issue with the quality of your sound source, your listening chain or the acoustics.
I am often asked about recommendations for good quality sample packs. I always mention three companies: Wave Alchemy, Gold Baby and Samples From Mars. Of course, there are many more. But these are the three that I have relied on consistently for years.
Avoid over-processing
Over-processing is a super popular and fun way of ruining a mix. Unless you are still living in the ’90s, you are probably already doing it! It’s not difficult at all to do with the myriad of fun plugins and effects available to us these days. The low end is especially sensitive
Joking aside! Understand that while experimenting is fun, each processing step has the potential to degrade the sound. It’s real easy to turn your low end into mush if you start going crazy with effects.
Many EQs and other plugins can introduce subtle phase shift, aliasing or other issues. These can slip unnoticed on many monitoring systems. And they suck life and solidity out of your material. Also some plugins, well, you can’t be sure of what the heck they do. Keep those away from your bass.
For these reasons you should always think about what you are doing. Is the processing you are about to add necessary? It may seem like a trivial thing to mind with an individual sound. But bad habits add up to bad end results as you keep repeating them over the course of the entire project. Do what you must, but nothing more than that.
A lot of processing requires a lot of skill
Here’s one way to look at it: The more processing you do, the more skills and the better listening environment you need to get it right. If you are still a beginner or your monitoring setup isn’t the best, it’s best to focus on keeping things simple. Get the foundations right instead of diving headfirst in the deep end. If you’re more advanced, you likely already know the value of keeping things simple. There
Know your tools
Having mentioned processing, it’s important to talk a little bit about tools.
Know what your tools actually do. Some plugins (especially analog-modeled ones) can be pretty ambiguous at times. They can hold some interesting surprises in the form of low-frequency hum and other fun stuff. If you use a plugin like that on several tracks across your mix, things will begin to add up. It might be what you want, but just be aware of what is going on. Read the manual, get to know the tools that you are using and leave no room for surprises.
There are also differences in the quality of tools. Good quality tools will help maintain the integrity of sound. Poor tools (such as plugins with bad code) can cause all sorts of problems and frustration. It’s always a good idea to invest in quality. It need not necessarily be expensive.
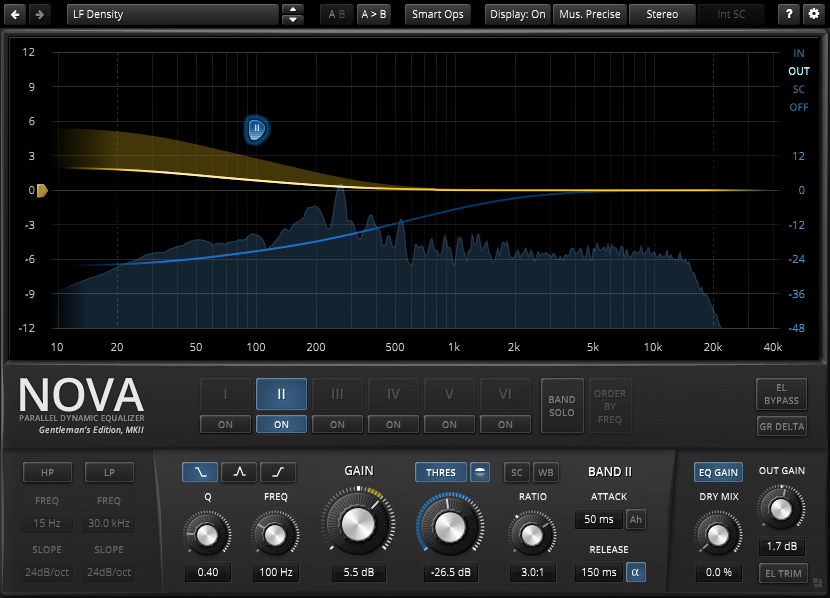
There are many companies doing great quality audio plugins. There is one company I can particularly vouch
They make great quality, trustworthy and affordable tools. You can trust there is no funny stuff going on with them. At the very least, check out the free versions of their tools. They are very much ready for heavy-duty work.
Clean the low end
As you’re working, you should always be aware of what each element in your mix is contributing to the low end.
Go through each track and find out what’s happening in there. Use a spectrum analyzer. See what frequencies the material is hitting in the low end and how loud. Clean up what isn’t needed (but be careful of taking out too much). Any unwanted low-end content is taking up energy from the speakers. It’s also masking the bass content that is actually desired.
Low-frequency hum and rumble
An inaudible 12 Hz sine wave can really dominate the speaker cone. You don’t want stuff like that going on in your mix without you knowing!
At what frequency should you cut?
I won’t tell you to perform cuts below a certain frequency. Why? It depends on the sound, the situation and the style of music you have got going. You need to think first. Maybe you shouldn’t be cutting anything in the first place? It’s easy and common to cut too much and lose the body of the mix, so look out for that. It can also cause issues with phase. Don’t follow hard and fast rules. Always look at the situation at hand and decide the best course of action from there.
When you do cut, gentle slopes and shelves are better for maintaining coherency. But where a steep cut sounds fine, there’s nothing wrong with going for it. Always maintain situational awareness of your low end as you keep working.
Fit bass instruments together
So you’ve cleaned things up to the point that you’re happy with. What next? You have to figure out how to optimize and fit everything to play together. The main bass instrument and the kick drum may be competing of the same frequencies, for example. This can cause buildup or cancellation of frequencies. Some overlap is fine. Too much won’t generally sound good and it will be harder to achieve a loud mix (if that is what you want).
Win without fighting
At this point, I want to remind you that getting it right at the source is always best. Aim to design your music from the ground up in a way that avoids these sorts of conflicts as much as possible. Be wise with the selection of your sounds. Keep the low end in mind when sequencing and arranging. Is there something you can take away? Does your bass stab have to hit the same time as the kick? The easiest way to solve problems is to not create them in the first place.
Sub-bass vs upper bass – make a decision
You should decide on two things:
- Where the lowest sub-bass frequencies in your song should come from?
- What instrument should be in charge of the upper bass area?
Think about what kind of song are you working on and what it needs. Do you want the lowest subs coming from the kick drum? Or should it be from the bassline? It’s generally not a good idea to have it coming from both, although not impossible.
It’s not only about frequency, but also timing and how the phase aligns. You have to be careful and you need a good listening environment to judge things like that.
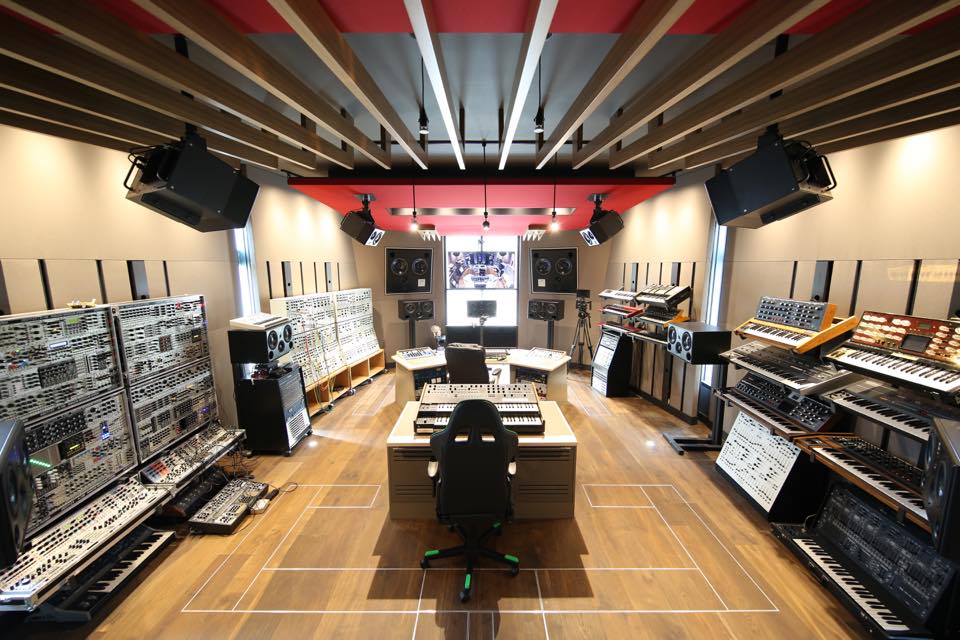
Look. Noisia or Deadmau5 can do some pretty far-out stuff safely in their state of the art studios. They also have the best mastering engineers backing them up. (H
Bass processing tips
In theory, it would be ideal to have the sub-bass and the low end of the kick drum peak one octave apart from each other. So if your
I’d like to remind you of the dangers of applying too much processing. By attempting too violently to separate everything the mix can fall apart. The low end of your mix is pretty vulnerable.
Let’s say you have a sub peaking at 60 Hz and a kick peaking at 90 Hz. In theory, things would sound better with the kick peaking at 120 Hz. But forcing it by EQ can totally mess with the sound. It may sound just fine with some minor cleanup and focusing.
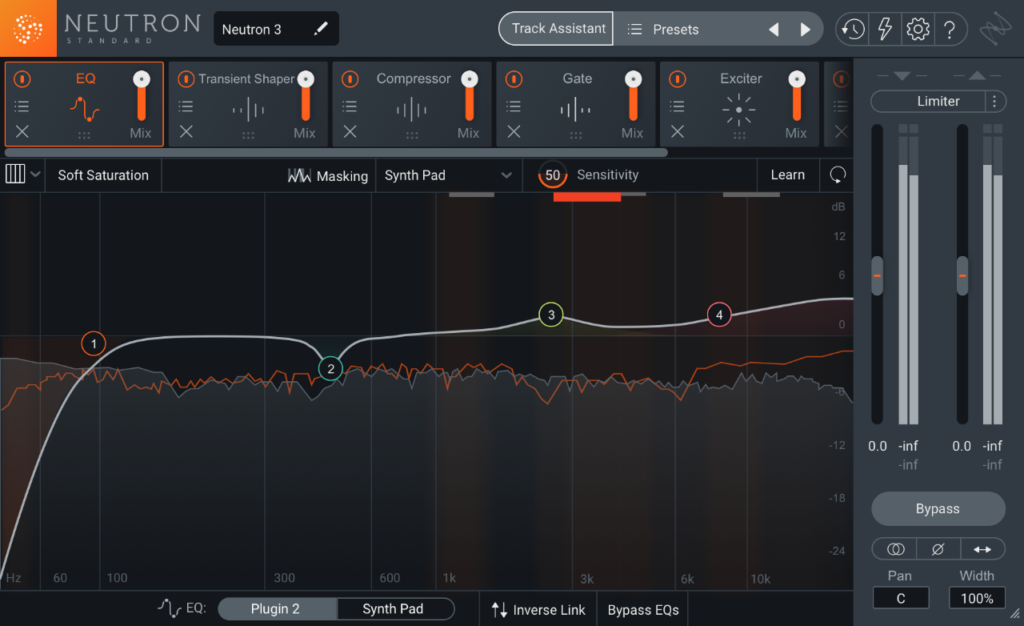
Besides EQ, don’t forget about using side chaining and dynamic EQ. iZotope Neutron is great for cleverly creating space in the low end. It has a masking meter for indicating crowded areas of the mix. You can set it to automatically duck certain frequencies of the bassline on track 1 when the kick comes in on track 2 for example. This can be extremely powerful.
Focus low end energy in the centre
It’s usually a good idea to make all sub-bass mono (for me it’s usually about 0-80 Hz and sometimes even higher). You don’t have to, and there are some great mixes where this advice isn’t followed. But going mono for the subs will synchronize the loudspeaker cones. This produces a more solid sensation of sub-bass. Our hearing loses the sense of direction at the lowest end of the spectrum in any case. You’re not losing much stereo image-wise by making the bass mono.
A mono low end is also safe on all club sound systems. If you have stereo bass and the system sums it down to mono, you could lose it. If you want your music to end up on vinyl, you should know the mastering engineer will make the lows mono in any case. This makes sure the finished record doesn’t skip.
How to make the bass mono?
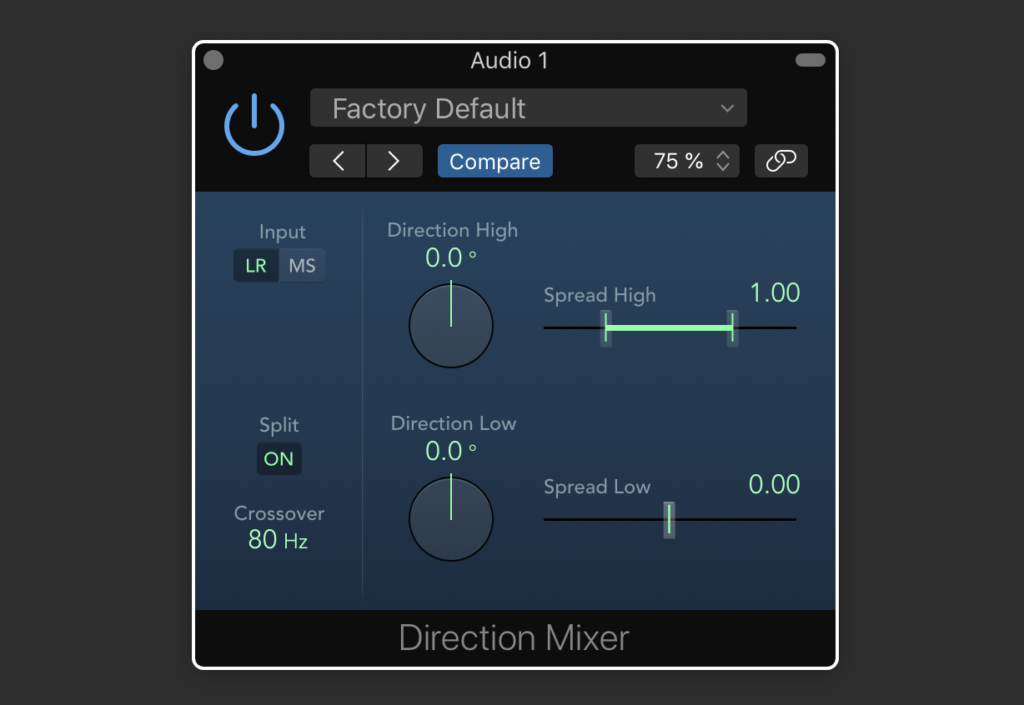
For making the bass mono there are many options available. If you’re using Ableton Live 10 or newer, there is a ”Bass Mono” option in the Utility effect. In Logic Pro X the ”Split” function in the Direction Mixer effect does it. You can also use a Mid-Side EQ to remove the lows from the Side channel. Or you can use the mono maker option included in many Tokyo Dawn Labs or Brainworx plugins for example.
Sub-bass generators
Sometimes there are situations where you want to beef up the low end on something and an EQ isn’t working so well. There might not be anything to boost, or perhaps its bad quality and boosting will only make it worse. In these situations, you can use a subharmonic generator. They are special plugins that generate new bass content based on your source audio. It can be a very useful trick to pull if you can do it right!
I have a whole bunch of these plugins. One, in particular, is above the others to me. I recently discovered the Waves Submarine and I fell in love with it as soon as I tried it. The sub-bass this guy gives out is intense, solid and crystal clear. Plus it’s great in tracking the source material
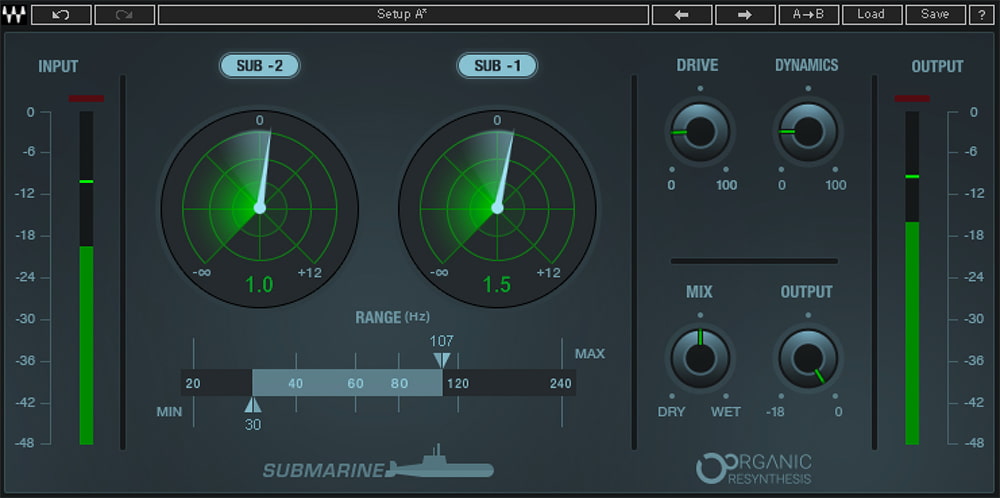
The algorithm in Submarine breaks the input signal down into four core characteristics. These are the carrier, pitch, format,
Waves Submarine bases its synthesis on these characteristics instead of the input signal. The plugin generates sub-bass at -1 and -2 octaves below the target frequency. You have separate control over each sub bass feed, wet/dry mix as well as drive and dynamics. The sub-bass that this plugin creates is solid and floor shaking. It usually works well even with pretty challenging material.
I even tried steeply rolling off a song at 120 Hz and then bringing the bass and sub-bass back in with Submarine. It brought the low end back to life, even with some long super low-end notes replicated in the correct pitch. I liked this version better than the original. So Submarine is my new secret weapon for when I want to generate some low end on anything.
Get the levels of sub-bass and bass right in the mix
How to know when levels of the sub-bass and bass frequencies are right in your mix? What about the relationship between the kick drum and bass instrument?
The typical relationship between the elements varies depending on the genre. Establish an understanding of what characteristics you’re aiming for with your music. The only way for you to do that is to listen and analyze the reference music of your liking. You can then think about how your own music should relate.
Quality over quantity
It’s not only about the volume of the bass, but also the quality. The better your bottom end sounds, the less volume it needs to come through well. Your mix will also have more headroom to push it louder in mastering. If your sub-bass is over-processed to mush and the low end of the mix masked with hum and rumble… You are likely to push the sub-bass louder in an attempt to make it come through. Yet you still won’t get that nice solid bass sound going, in fact, you’re only making things worse.
Monitor the dynamics
Another thing to watch for is the dynamic range of your bass and if the different notes are playing evenly. Sometimes you may want some notes louder than others. But more often it’s accidental. Make sure you know what’s going on in there.
A dynamic EQ can be a great tool for getting a jumpy bass track under control. Remember to keep in mind that most rooms have large peaks and dips at the low end of the frequency range. Some notes of the bass may sound louder or quieter because of that even if in reality they’re even.
Let’s recap!
So there we go! To recap, here are my thoughts in a nutshell:
- Become aware of the weak points of your listening environment.
- Start with good quality sounds.
- Use good quality tools and know them inside out.
- Avoid doing too much processing.
- Examine the low end of all tracks, clean up where necessary.
- Choose what your main sources for bass and sub-bass should be and make them play well together.
- Focus the low energy content in the center of the mix.
- Look out for bass notes that are too loud or too quiet.
- Adjust the volume of the low end as a whole to the correct level in relation to the rest of your mix.
Any thoughts or questions? Do you think there’s something I missed or something you’d like to know more about? Leave us a comment. If you are finding my contributions useful, you can support me on Patreon. You get bonus content and other rewards in return
Leave a Reply